I’m finally at that age. You know, when the grocery store is playing your music and you go to bed at a decent hour.
It’s also the same age that I started noticing a few fine lines here and there. And when I say a few, I might be underestimating a bit.
I have no issue with getting older, but I’d like to do it gracefully. So, just like every other person my age, I started looking into ways to correct those lines before they got deeper.

It used to be that if you wanted cosmetic work done, you had to shell out the big bucks for a licensed professional. There was no other option when it came to seeing results. DIY treatments and at-home devices just weren’t a thing… yet.
These days, there are tons of options. From creams and serums to rollers and devices, there are plenty of new items that promise you can get professional results yourself from the comfort of home. Devices in particular are seeing a big rise right now, and they vow to rival the in-office treatments we’ve been spending so much money on.
Related: Top 10 Facelift Alternatives, According to Beauty Experts
Do these DIY devices really deliver the goods? Well, sort of.
There are definitely devices that you just shouldn’t bother with. For instance, skip the at-home CoolSculpting (aka fat freezing) and see a trained professional instead. I just saw one of these consumer devices advertised recently, so I had to look into it. Not only are the at-home versions ineffective at eliminating fat, but they can also even cause skin and tissue damage. DIY CoolSculpting is one of those ones that’s just too good to be true.
Some do deliver results, though. Several IPL (intense pulsed light) devices have hit the market in recent years and promise to zap unwanted hair away. While they don’t give you the exact results as the stronger IPL devices in the med spa, they do still produce results when used correctly. You just need to be consistent with your treatments. If you don’t believe me, check out this study published in the Journal of Clinical and Aesthetic Dermatology.
That being said, there’s one at-home device that kept popping back up again and again on social media: a microneedle derma roller. Especially over the pandemic, it seemed like I saw so much about microneedling. It really piqued my interest. I wanted to know if it really did deliver the results promised.
Clearly, I had to look into it!
What Is Microneedling, and What Does It Do?

Before we jump into the world of at-home derma rollers, let’s talk about microneedling first. What is it, and what does it do?
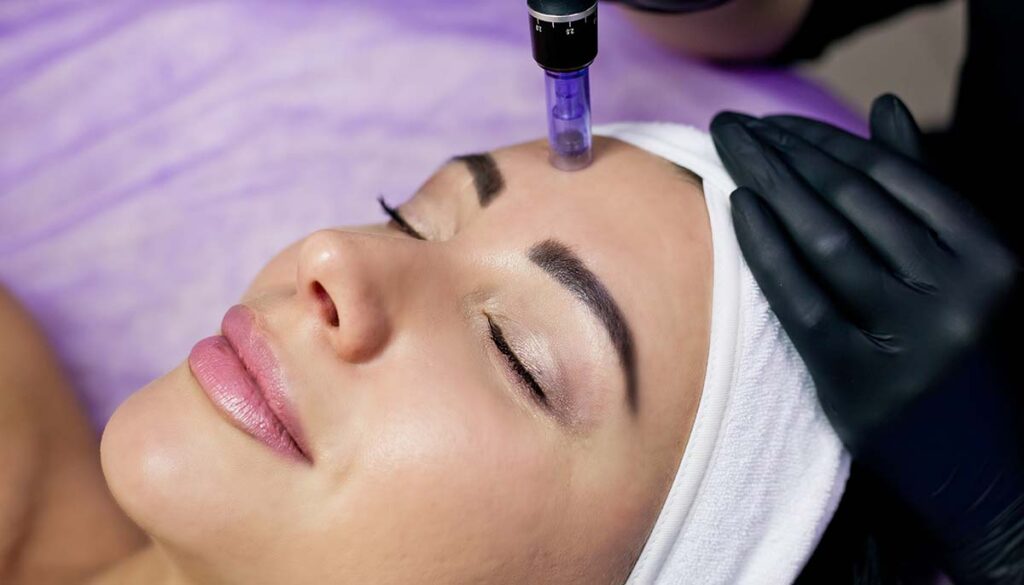
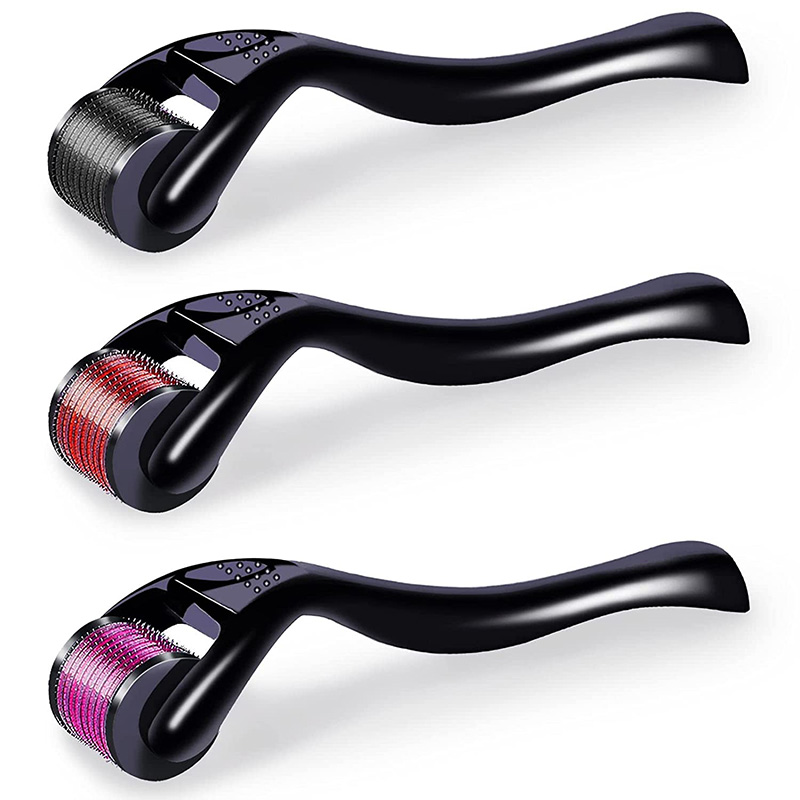
Microneedling can go by a few different names: dermarolling, skin needling, and collagen induction therapy (CIT). This cosmetic procedure is essentially what it sounds like. It involves repeatedly puncturing the skin with tiny needles. You do it by using a derma roller, which is a handled roller that has hundreds of fine needles around its surface. These little needles are about the size of an acupuncture needle, and the length varies depending on the roller. As you roll it across your face, the tiny needles penetrate the skin.
Okay, why are we sticking our faces with hundreds of needles? What in the world does it do?
The punctures created by the needles are so tiny that they are considered to be superficial. It’s not an invasive treatment. However, they are still kind of like a controlled skin injury. It triggers the body’s wound-healing response, boosting collagen and elastin – the stuff that plumps and firms skin.
This is good news for anyone fighting fine lines and wrinkles, acne scars, age spots, enlarged pores, stretch marks, and any textural concerns. Microneedling treatments should leave you with smoother, brighter, and younger-looking skin. It also increases the absorption of active ingredients in face serums and creams.
What’s the Difference Between Professional and At-Home Microneedling?
Now that we’ve been over the general idea, let’s look at the difference between having a microneedling treatment done by a professional, versus doing it yourself at home. There are a few key differences, including things like the cost and how much it’s going to hurt.

The Cost
The cost between an at-home treatment and an in-office treatment is staggering. If you go to a trained professional, sessions can be anywhere from $200 to $700 per session. With clients needing anywhere from two to five treatments to achieve desired results, that can definitely add up.
On the flip side, at-home derma rollers can be relatively inexpensive. For the roller itself, you’re looking at $10 up to $160. It is important to do your research here, though, and not pick one based on price alone.
The Results
One of the main reasons for that large price difference? Professional microneedling is going to give you the desired results with fewer treatments. Trained professionals use either handheld rollers or an electric tool to puncture the skin, and the needles can range from .5 millimeters to 2 millimeters. These penetrate deeper, which means they work better and you will see noticeable results much sooner than with at-home microneedling.
If you use a derma roller at home, the results will be less pronounced. Because you’re not a trained professional, you shouldn’t be using needles above .5 millimeters in length. Some professionals suggest no one should go over .25 millimeters at home. You will have to use the roller more often, and results might take longer. And because the needles are shorter, they aren’t best if you are looking to correct more serious issues.
The Pain Level
At-home microneedling rollers aren’t super painful. You will still experience some discomfort. You’re puncturing your skin with tiny needles, after all. But because they’re fairly short, you’re not likely to bleed or bruise. There isn’t usually a long recovery time with at-home microneedling, since the needles don’t penetrate as deep.
Professional microneedling can result in bleeding, and may leave your skin irritated and red for a few days following the treatment. It is more painful than the smaller needles of at-home rollers, but most dermatologists are going to apply a topical anesthetic to the treatment area first. It might be a few days before your face gets back to normal.
Choosing the Right Derma Roller for At-Home Microneedling

All that being said, at-home microneedling can be a great option for anyone looking for an inexpensive yet effective treatment for these issues:
- Loss of skin firmness
- Fine lines and the start of wrinkles
- Oily skin
- Large pores
- Acne scarring
- Uneven texture
- Stretch marks
To treat those issues, though, you need to have the right microneedling derma roller. So, how do you choose the right one?
We’re talking about piercing the skin with tons of little needles, so using a well-made roller is key. Otherwise, you could be looking at potential health risks, such as damage, scarring, and infection. Always purchase from a trusted retailer.
For DIY microneedling at home, you will want to choose a derma roller with needles shorter than .5 millimeters. Anything longer should not be used by anyone other than a trained professional.
How to Use Your Derma Roller

Now that you’ve chosen a microneedling roller, let’s talk about how to use it! To keep it simple, I’m going to focus on manual rollers. Using a microneedling pen is going to be similar, but you’re going to “stamp” it as opposed to rolling the treatment area.
Step 1: Disinfect your derma roller! We’re about to puncture our skin with it, and you don’t want a nasty infection, so ensure your tool is sanitized.
Step 2: Cleanse your skin with your favorite cleanser.
Step 3: Apply your face serum! This one is optional, but suggested. Serums that contain hyaluronic acid, growth factors, ceramides, and peptides are good choices. It’s usually suggested to avoid retinoid products or vitamin C, because they could cause more irritation.
Step 4: It’s time to roll! You will divide and conquer: the forehead, cheeks, lips/chin, and neck are your areas. For each area, roll vertically, diagonally, and horizontally. Think of it like drawing an asterisk.
Step 5: Apply another layer of your serum, and then apply a layer of moisturizer. Again, it’s best to avoid retinoids and vitamin C.
Step 6: If you’re experiencing some irritation or redness, use a cooled jade roller or ice roller to soothe your skin. It should chill (see what I did there?) in about an hour or so.
When You Shouldn’t Use a Microneedling Roller
Microneedlers might seem miraculous, but there are some instances when they shouldn’t be used. You should talk to your healthcare provider if you find yourself with these:
- If you’re currently receiving chemotherapy or radiation therapy
- If you have rashes, psoriasis, eczema, and other skin issues
- If you have active acne
- If you have an active infection in the treatment area
- If you have clotting or bleeding disorders, you take medicine that thins your blood (anticoagulants)


