I am willing to bet that you have heard of baking makeup at this point. In the last several years, it’s become quite the buzz. It’s all over TikTok, Instagram, YouTube, and more. I’ve heard drag performers, makup artists, celebs, and influencers talking about it.
But if all of that buzz has left you wondering what in the world people are doing with their makeup, read on. We’re going to talk about baking, sometimes referred to as cooking.

No, you’re not going to stick your makeup in the oven. We don’t even need the kitchen. The term “baking” actually refers to a technique that promises to keep your makeup looking flawless and creaseless all day (or night!) long.
To do it, you’re going to use an alarming amount of powder on your face. Don’t let it scare you, though. With some simple tips and a few beauty products, you’ll be on your way to some seriously budge-proof makeup in no time!
The Basics of Baking, When It Comes to Makeup
Alright. Let’s go over the basics of baking. And you won’t even have to spend any time in the kitchen. I mean, unless you want to.
Baking is for just about everyone. Literally anyone with any skin type can do it. You’re going to use makeup products that match your skin tone, and you probably already have most of them to begin with.
This technique is great for anyone going for that full face of glam. It’s probably not going to suit a minimal makeup look. If you’re only wearing a bit of concealer and would prefer skipping full-coverage makeup, you can definitely skip out on this one. But for anyone doing foundation and concealer all over, baking will give you that seamless and filtered look without being overly cakey.
Baking is especially great for anyone dealing with oily skin or humid weather. It will help set your makeup in place, so it won’t be sliding around on your face while in moisture – like excess oil or sweat. If you have ever put on foundation or concealer without properly setting it, you know what I’m talking about. By the end of the day, it never looks as good as it did from the start.
The technique isn’t exactly new, it’s just become more mainstream in recent years. You can thank drag performers and celebs for that. In fact, it was standard for Hollywood stars of old, like Marilyn Monroe. After that, drag performers started picking it up.
Related: Check Out This History of Makeup From Around the World
It’s actually based on a really old makeup technique used as far back as Ancient Egypt, according to Wikipedia. I might be old, but I’m not that old, so I can’t really confirm or deny it. We can probably assume they didn’t have MAC’s Set Powder back then, though.
Renowned makeup artist (and Kim Kardashian’s go-to makeup guru) Mario Dedivanovic has been credited with the technique, or at least tied to it. According to him, it’s probably because he often taught the technique in master classes.
“Although I’ve never called it baking, I’ve been teaching this technique in my master classes for years,” He told Glamour back in 2015. “And perhaps that’s why it’s being linked to my name.”
By now, you’ve likely seen performers on RuPaul’s Drag Race, celebrities, and social media influencers alike baking their makeup. It’s definitely the hot trend of the makeup world at the moment.
What in the World Is Baking?
Okay, but what is it exactly?
Baking is a technique used to both conceal and highlight. It involves heavily applying concealer, usually a slightly lighter tone than your skin, under the eye area and on high points of the face. This includes the cheekbones, the bridge of the nose, the center of the forehead, and the chin.
After that, a lot of loose translucent powder is used to set everything in place. Like, a lot. While some claim that it oxidizes your makeup or that somehow your body heat fuses the liquid makeup and loose powder together, that’s not really what’s going on. The powder is actually helping the liquid in your foundation or concealer evaporate more completely.
After it sits for around ten minutes, you just brush away the excess powder on top. Voila! You wind up with a polished, filter-worthy look that is smudge-proof and transfer-proof. Look, you don’t really have to understand how it works. Just know that it does work!
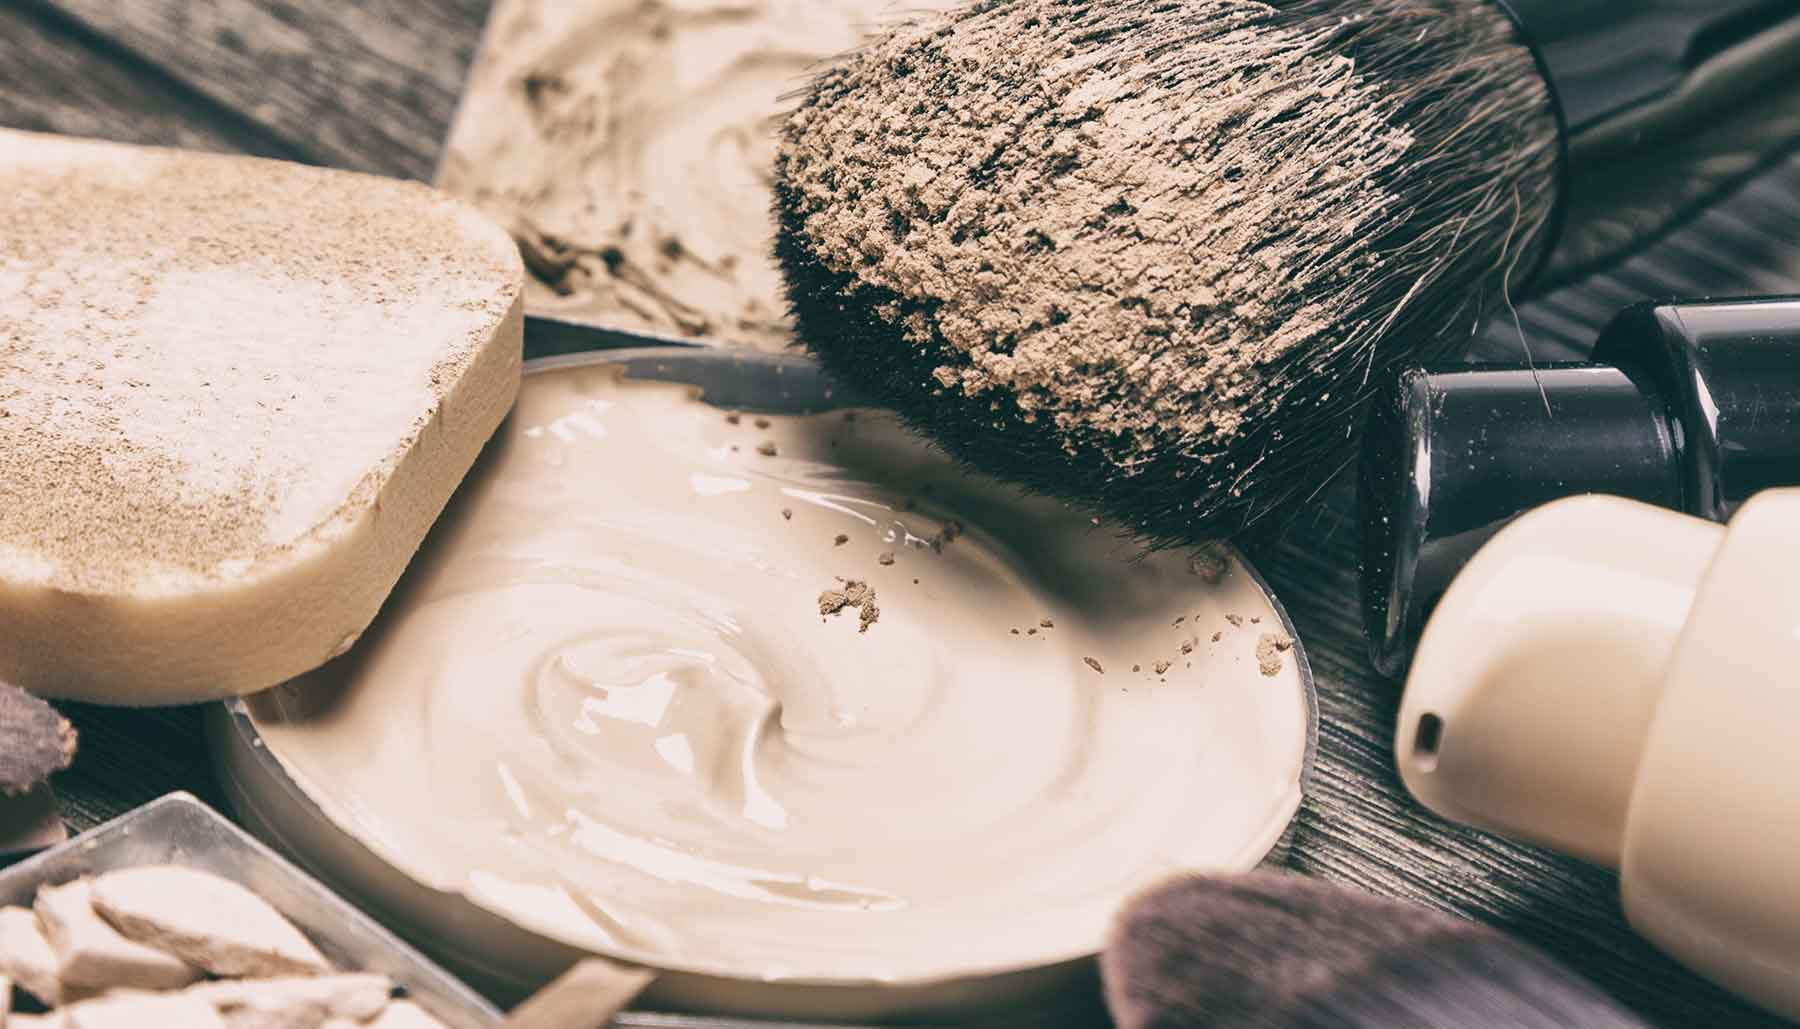
What You Need to Bake
If all that has grabbed your attention and you’re ready to test it yourself, here is what you will need.

Eye cream: The under-eye area is notorious for being dry. We need a nice, smooth area to start with. No crepey skin allowed! Ensure that the skin around your eyes is moisturized and ready to go before you get started.
Foundation: Clearly, we’ll need foundation to do a full face. Because we’re baking, you want to start with a liquid foundation with plenty of coverage.
Concealer: This is one of the most important parts of baking. A liquid concealer is what will minimize dark circles and imperfections, so choose something with lots of coverage. A lighter shade than your skin is helpful for highlighting the high points on the face.
Setting powder: This is the key to baking, so clearly you have to have some! You want something that is finely milled so that it blends very easily into your skin. Choose something translucent, or one that is as close to your skin tone as possible. Avoid powders that are too light, and get a powder that is matte. Avoid shimmery powder, often labeled as “HD,” because these can cause what is called flashback – when the powder shows up very white when someone takes a photo with flash.
A damp makeup sponge: To apply all those liquid products, you’ll need a makeup sponge. It will help you apply everything evenly and heavily. You will also use it again to pile on the setting powder.
A fluffy powder brush: This brush is what you will use to dust on setting powder first, before adding more with the makeup sponge. You will also use it at the end to sweep off excess powder.
Related: Are You Washing Your Makeup Brushes Regularly? Here’s Why You Should, and How to Do It Right!
Let’s Get Baking!
If you’ve got your supplies and you’re ready to get started, here’s how it’s done! Let’s break it down, step by step.
Step 1: Applying Eye Cream
Remember that hydrated, smooth skin is really important. You want to start with the right kind of canvas, right? Apply eye cream to the skin under your eyes, using your ring finger to gently dab it in.
Step 2: Applying Foundation
Using your damp makeup sponge, evenly dab on your foundation. Make sure it’s blended in to perfection, as this is our base for the whole thing.
Step 3: Lots of Liquid Concealer
Apply a pretty thick layer of concealer to your under-eye area. Most apply it in an upside-down triangle shape. Use the damp makeup sponge to gently blend it into your foundation. If you are also using concealer to highlight the high points of your face, now’s the time to do it.
Step 4: The Powder!
Using your fluffy makeup brush, dust a light layer of setting powder all over the concealer you just put on. This is to help hold it all in place before we really go ham with the powder. Hey, you don’t want it all sliding around after you just did all that hard work.

Step 4: More Powder!
Now, the fun begins. We’re going to pull that makeup sponge back out again. Dip it into the powder, and use it to stamp that powder all over the concealer. Pack it on. Make yourself look like you stuck your face in a bag of flour. We aren’t rubbing it in, just letting it sit on top of all the concealer you just put on.
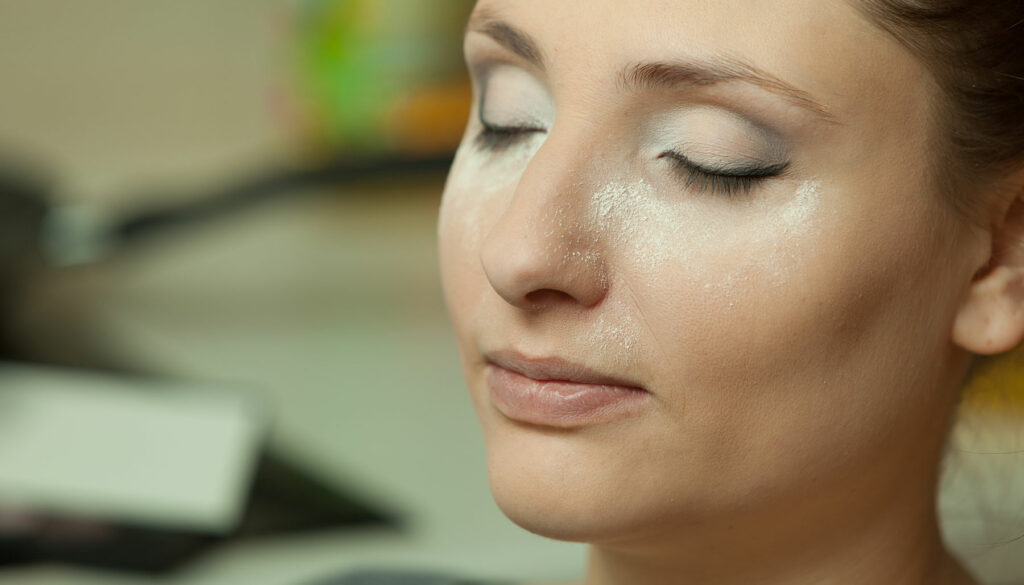
Step 5: Now We’re Baking
Now, we let that powder work its magic. You will leave it on your face – looking silly, to be honest – for about 10 minutes. It’s going to soak up all that excess oil and other moisture, while ensuring the makeup underneath won’t budge. This is a good time to put on eye makeup. Any extra eye shadow that falls under your eyes will get swept away with the extra setting powder.
Step 6: Brushing Off the Powder
Now that you’re done baking, it’s time to remove the excess setting powder. We’re pulling the fluffy makeup brush again, and using it to dust off the powder. Use a gentle flicking motion at first, and then switch to a circular motion to blend and avoid any harsh edges.
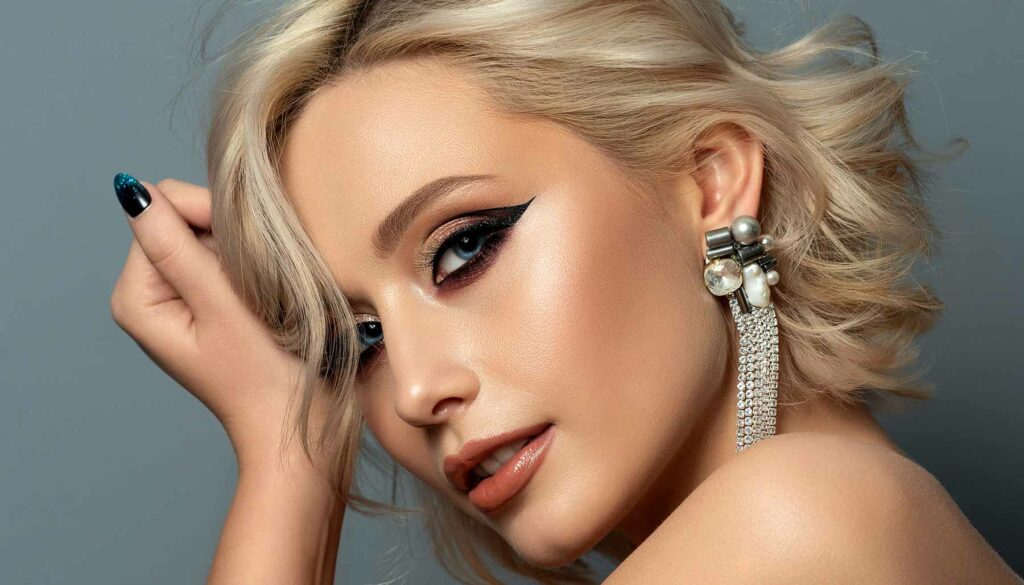
Step 7: Admire
Now that all the powder has been brushed away, it’s time to admire all your hard work! You should have a flawless, airbrush-worthy finish that won’t budge all day long.