I will openly admit that I take plenty of shortcuts in the kitchen.
Look, I don’t always have time to make tomato sauce from scratch, and I have no idea how to make pasta from scratch – regardless of how many times I’ve seen it done on Food Network. I reach for refrigerated dough for some recipes. Sometimes I even skip rinsing the dishes before I put them in the dishwasher!

But there is one thing you should never skip: regularly sharpening your knives.
The knife is probably one of the most important tools in your kitchen. You likely reach for that chef’s knife more often than not because it’s so versatile. Just one knife is used for cutting meat, dicing vegetables, slicing herbs, and more. Then there’s other important knives in your arsenal that you use regularly, like a paring knife or a bread knife. And hey, we can’t forget about steak knives! They might not be used for cooking, but these sturdy knives are pretty important for eating certain foods with ease.
Related: Quick and Easy Dinner Recipes You Can Make in 30 Minutes or Less
All that being said, your knives won’t be very useful at all if they are not sharp. It doesn’t matter if you use an expensive, high-end knife, or an inexpensive one from a big box store. You have to keep those blades sharp!
Not only are dull knives harder to use without smashing up your ingredients, but that dull blade can also be more dangerous. That’s because a blunt or dull blade requires more pressure to cut, making it more likely to slip under increased force and cause an injury. A properly sharpened knife will cut with ease, requiring less effort or pressure.
Alright, so we’re going to keep those knives sharp. Luckily, you don’t need to take them somewhere, and you don’t need to be some kind of knife connoisseur. You can just do it at home if you want to. And I promise it’s not too difficult, so don’t feel intimidated.
Surely you’ve seen celebrity chefs slashing away at a steel rod. Or, maybe you have seen a professional smoothly stroking a knife blade against what looks like a flat stone with intense precision. There are also inexpensive pull-through sharpeners that seem super easy to use. Do they all do the same thing? And which one is your best bet?
The Difference Between Honing and Sharpening
Before we get into the nitty gritty, we have to talk about honing vs sharpening.
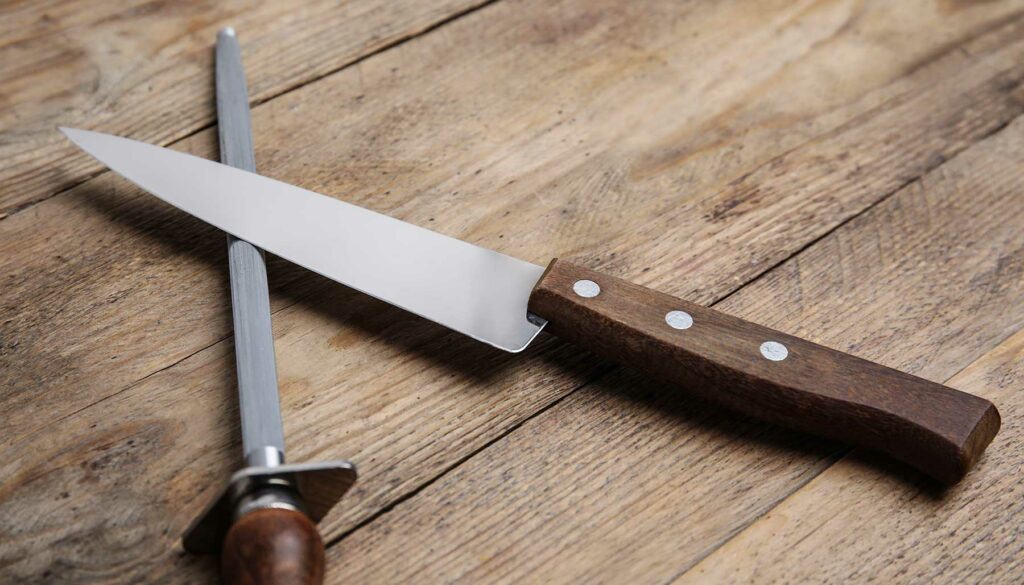
The steel rod I mentioned before is what’s known as a honing rod or honing steel. As you can probably guess, it is used for honing a blade. No, honing is not the same thing as sharpening! With honing, you aren’t removing any material. You can’t see it without a microscope, but each time you use a knife, the edge gets ever-so-slightly bent out of shape. A honing rod will realign the existing edge of the knife, straightening and smoothing the blade. You use this method regularly between sharpenings to keep the knife blade in tip-top shape. This will help maintain the blade and help it stay sharp for longer.
On the other hand, sharpening actually gives the blade a new edge. The sharpening tool will grind or shave off tiny bits of the metal, creating that new, sharper surface. You don’t have to sharpen your knives every time you use them. This should be done when necessary, which is typically every six to twelve months. Otherwise, you’ll wear down your knives much quicker.
Ideally, you sharpen your knives when needed, and then you hone them between sharpenings. Some people hone their knives prior to every use – like those celeb chefs you see on Food Network – but us regular folks can get away with honing our knives after every two to four uses.
By keeping up with regular maintenance, your knives will stay sharper for much longer, making prep work in the kitchen a lot easier (and safer!).
Different Methods of Sharpening

With honing, there’s really only one way to do it. But when it comes to sharpening, there are a few different ways to go about it. I’m going to go over the most-used methods.
Pull-Through Sharpeners
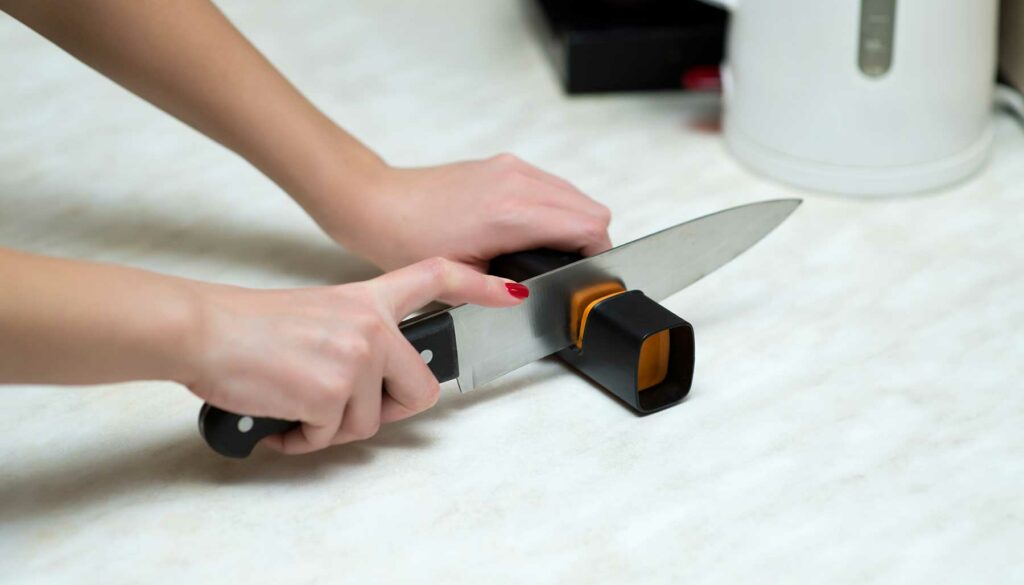
Like the name implies, these handy sharpeners are used by pulling the knife blade through them. These devices consist of sharpening wheels or stones that are usually ceramic. When you pull the knife through the slot, the wheels sharpen on both sides of the blade at the same time. Many have multiple slots that range from coarse to smooth, and you pull the knife through them in order. The coarser grain will restore the shape of the edge, while the finer ones polish it.
These kinds of sharpeners are extremely easy to use and can quickly turn a blunt knife into a much sharper one. If you don’t need to sharpen knives very often, or you’re not using really expensive, high-end knives, pull-through sharpeners are a good option. These kinds of sharpeners are not recommended for Japanese knives or other thin and brittle knife blades.
In other words, keep a pull-through sharpener on hand for quickly ditching dull blades on less-pricey, sturdy knives.
There are electric pull-through sharpeners, but I don’t find that they’re worth it. Pull-through sharpeners are already pretty quick to use, so electric pull-throughs don’t stand to save you a lot of time. They also take up extra counter or cabinet storage space, and you’re much more likely to wear down knives faster or damage them with an electric model.
Sharpening With a Whetstone
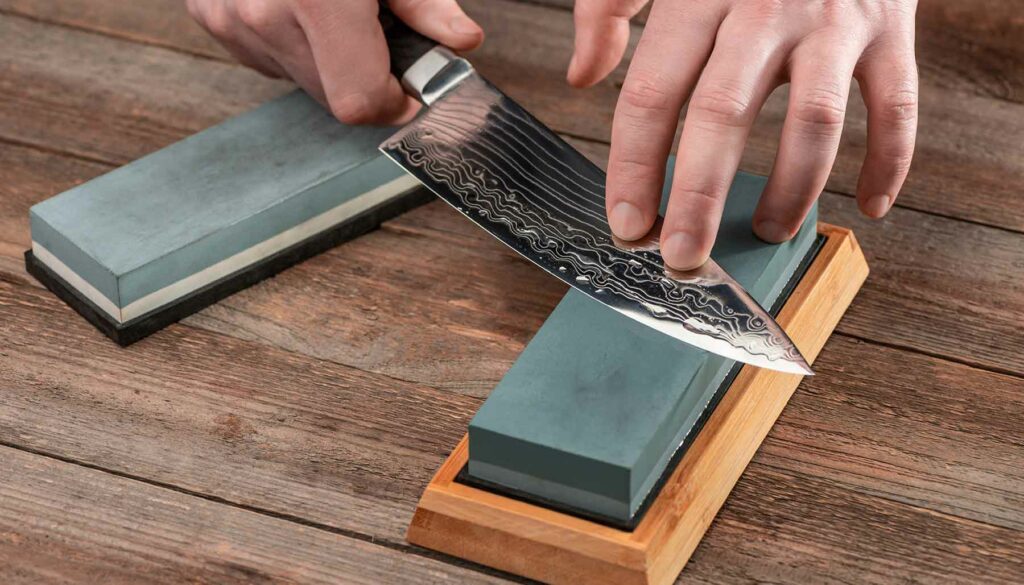
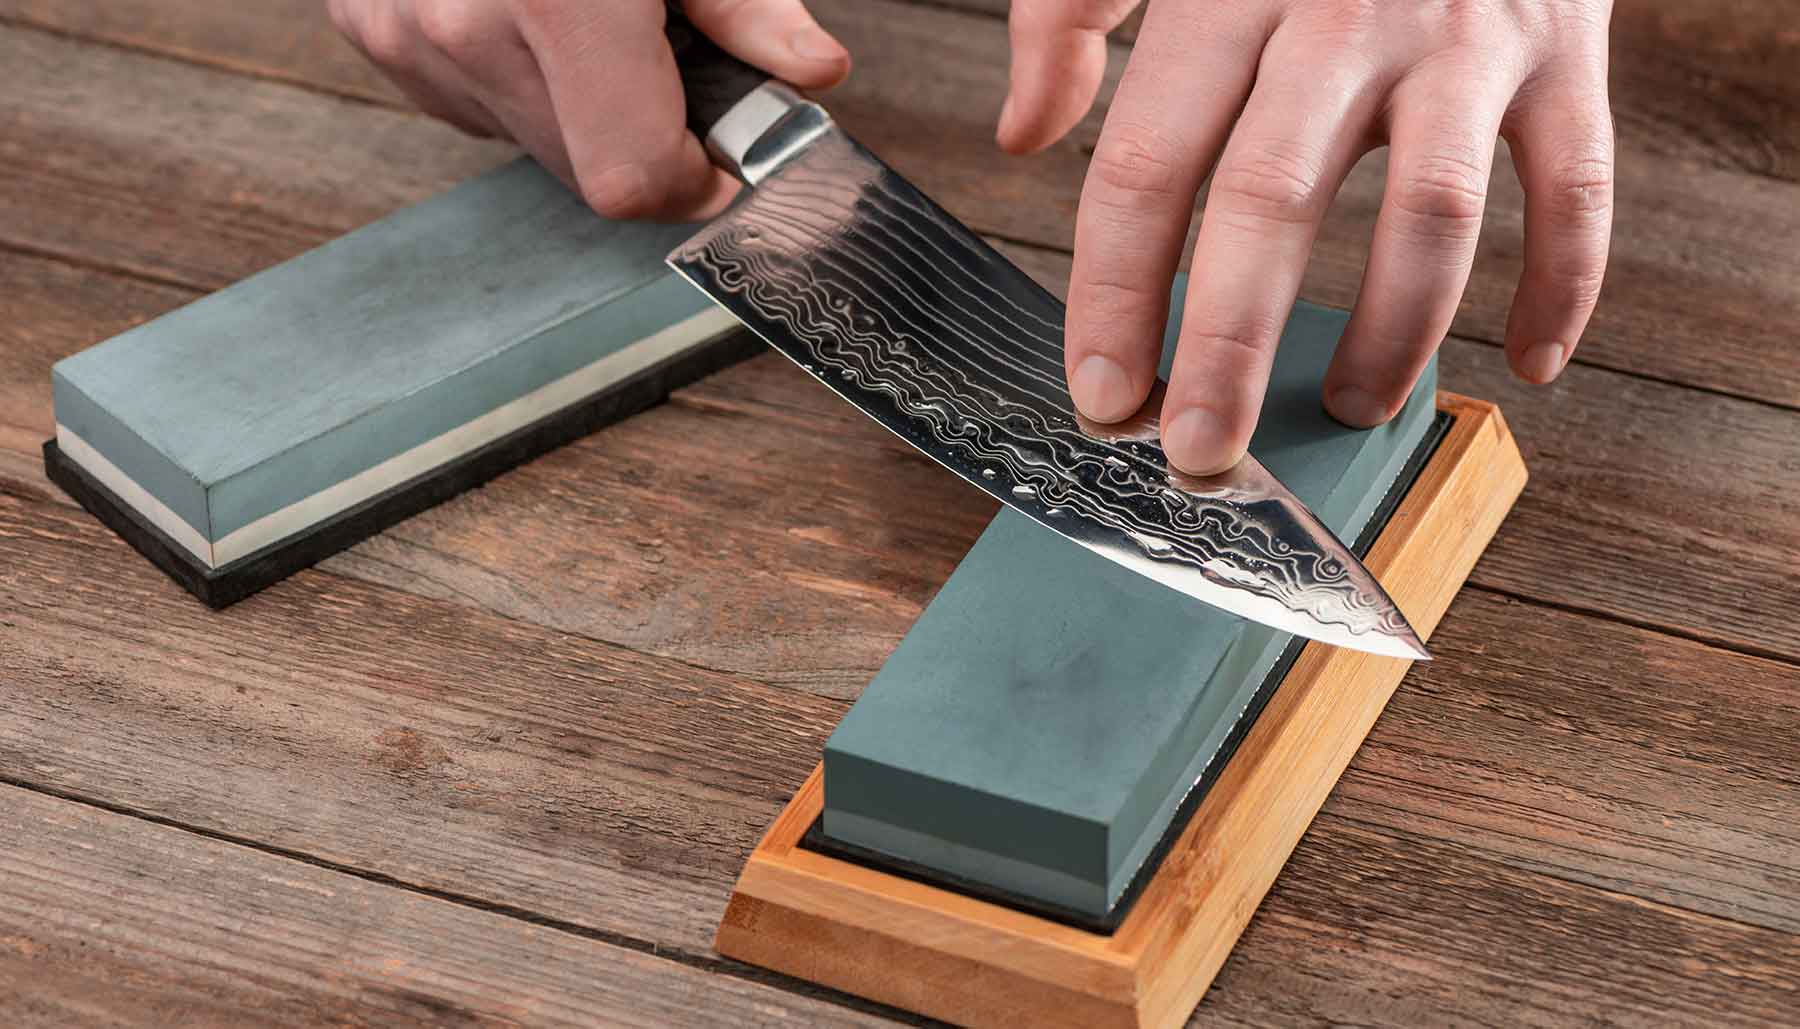
Ask any professional what they use to sharpen their blades, and they’ll almost certainly say they use a whetstone. These can be used on a wide variety of different knives.
“Whet” means “to sharpen,” so it’s literally a stone used to sharpen. This tool is a stone block that is used to sharpen the blade, and each side has a different grit. One side is coarse while the other is fine. You start with the coarser side to restore the shape of the edge, before moving to the finer grit to polish it.
To use this tool, you slide the knife across the surface at an angle. Getting the angle correct is one of the hardest parts of learning how to properly use a whetstone. You typically need a smaller angle for Japanese-style knives, around 15 degrees; while Western-style knives need to be angled a little more, usually at 20 degrees.
You draw the blade down the stone and you have to make sure you hold the blade at a constant angle all the way down until the knife runs off the edge. Once you have sufficiently sharpened one side, turn the knife over and sharpen the other side going in the opposite direction.
There is obviously a learning curve here, and it will require some patience. But if you can stick with it, you’ll have mastered the best way to keep your knives sharp.
There are other sharpening stones available: oilstones and waterstones. If you didn’t guess from the name, these stones are soaked in either oil or water before being used. Some say that this helps hold some of the grit in suspension during sharpening, but it can also create a paste (yuck!) that clogs the pores of the stone, making it less effective.
Professional Sharpening Services
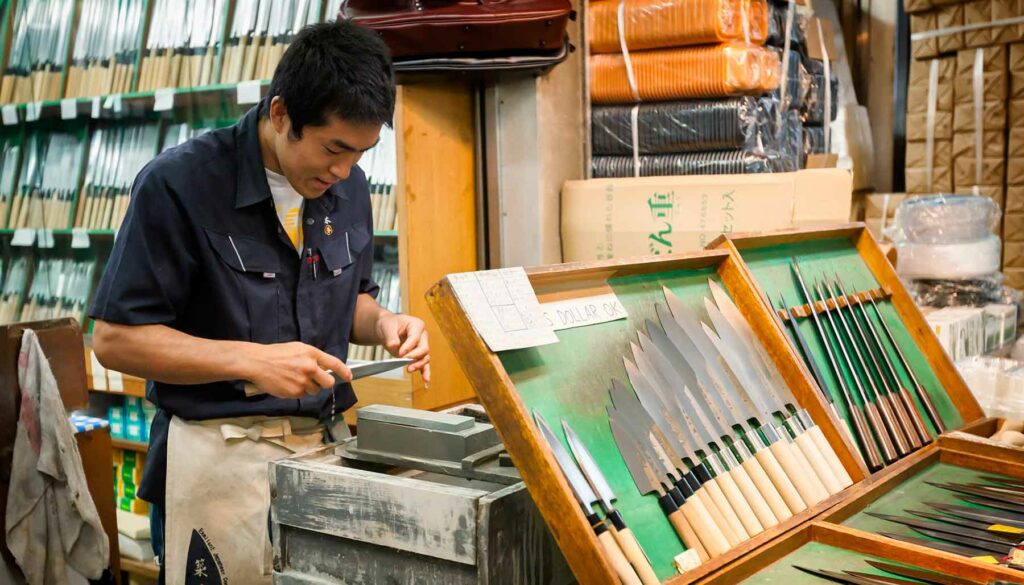
Hey, there’s no shame in dropping off your knives for a good sharpening. They are the professionals, after all. Your knives will come back to you in tip-top shape. Having a professional service take care of sharpening your blades will save you plenty of time and is a great choice for anyone having a hard time mastering the process.
Taking your knives to the professionals is also a great way to have your questions answered, and they might even teach you some basics. But the biggest advantage is that professional sharpening can extend the life of your knives.
Honing Your Blades
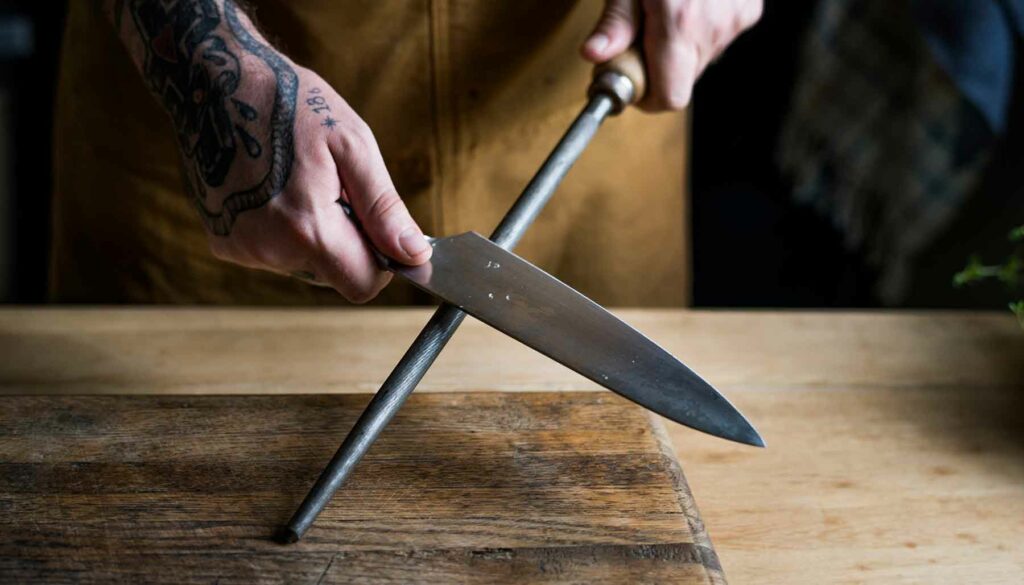
Now that your knives are perfectly sharpened, you’ll want to hone them every so often to maintain that edge. Do this once every few uses, or maybe once a week. Unlike sharpening, honing doesn’t remove material from your knife, so you don’t have to worry about frequent honing damaging your blade.
Celeb chefs tend to make a show of it by holding the honing steel up in the air and dramatically slashing the knife against it. Don’t pretend to be Gordon Ramsay here, okay?
Instead, hold it vertically the other way, with the tip resting on a work surface and one hand gripping the handle firmly. Holding the blade at a 15-20 degree angle, start with the heel of the knife at the top of the honing rod. Slide the edge of your knife down and towards you. You’ll want to repeat this on the other side, too. Ensure you repeat it the same number of times on both sides of the knife.


