You don’t have to be an interior designer to have a beautiful home, and you don’t need a massive budget, either. A gallery wall can make any room feel more elevated and put together without costing you a fortune.
It might seem like creating a gallery wall is a difficult task, but all you need is the right supplies, a decent chunk of time, and a process you can follow. If you follow these steps, you’ll be enjoying your gorgeous “new” wall before you know it!
Look at What You Already Have
Before you start online shopping or head to Home Goods, look at what you already have. Take stock of what’s already hanging up on your walls, and then dig through your closets and storage areas. You’d be surprised at the hidden gems you already own! If you have enough art pieces already around, you may not even have to buy any new ones.
Remember that your gallery art should reflect you – or, if you share your home, of you and your housemates. That means the pieces you gather should somehow illustrate your personality and taste. You could fill your wall with prints from big box stores if you wanted to. But if you use items that you already own and love, you’ll probably be happier with the result, and your home will be more authentic.
Think About a Color Scheme
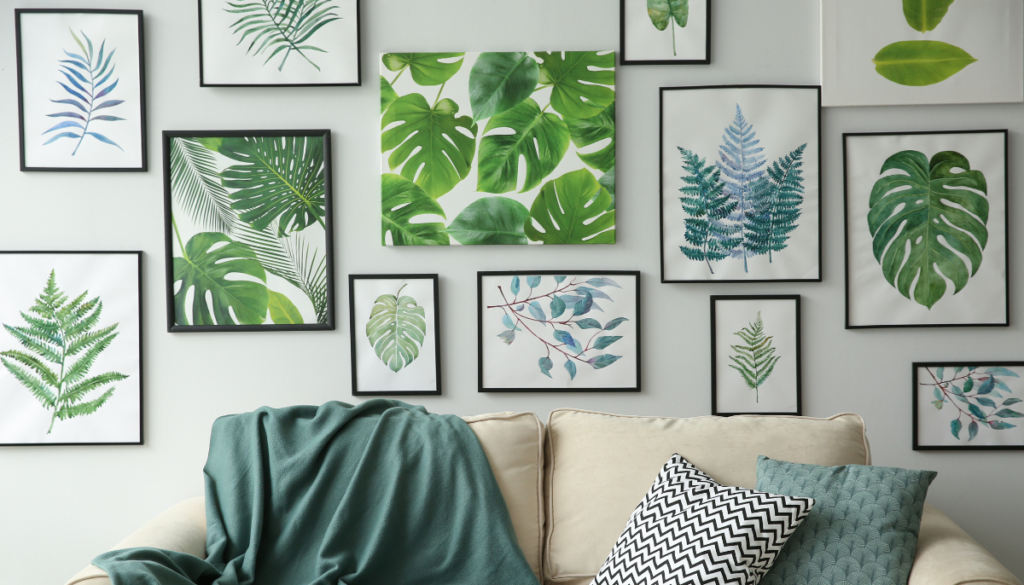
You don’t need to have a color scheme for your gallery wall. If your style is eclectic and colorful, go ahead and skip this step! Choose pieces that represent the best and brightest version of you. Even if it’s just the one room in your house that’s eclectic and colorful, that’s great! There’s no law that every room in your home has to coordinate. Go ahead and create that fantastic, bright, multi-colored gallery wall!
But if you want to use a color scheme, start thinking about it now before buying any prints or frames. What colors would you like to see more of? Are there colors that would coordinate well with the room as it currently is? What colors do you already have a lot of in your art? And do those colors work together?
Make a list of the three main colors you’d like to see on your gallery wall. Then narrow down your current collection to the pieces that have those colors. If there’s room in your budget, purchase prints that you love that use those colors.
Pro tip: buy your prints from local, independent artists if possible. If you can’t find any, or if the artwork you see locally doesn’t quite match your style, head online to purchase from independent artists. Your gallery wall will be more unique than if you’d bought all the pieces from a chain store – and you’ll be supporting an independent artist, too!
Pick Photographs
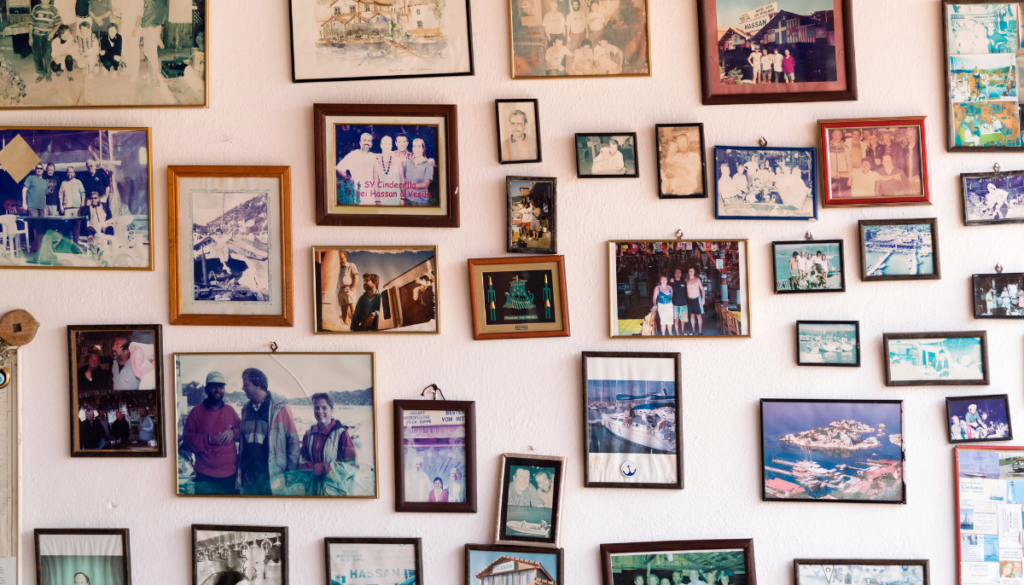
From selfies on vacation to photoshoots with friends, we spend so much time taking pictures these days. You probably have many great pictures on your phone that you only ever see on a tiny screen. Choose some of your favorite photos and print them. Make sure you pay attention to the printing sizes and that you purchase prints that will fit your frames.
You don’t have to hang all of your photos on your gallery wall; two to three is probably the maximum you’ll want to include. But adding photos is a great way to get those photos off your phone and remind you of your favorite memories.
Think Outside the Box
Art prints and photographs are a fantastic way to show your personality on your gallery wall. But you’re not limited to just what’s printed. Fabric art, such as woven pieces, can bring texture and variety to your gallery wall.
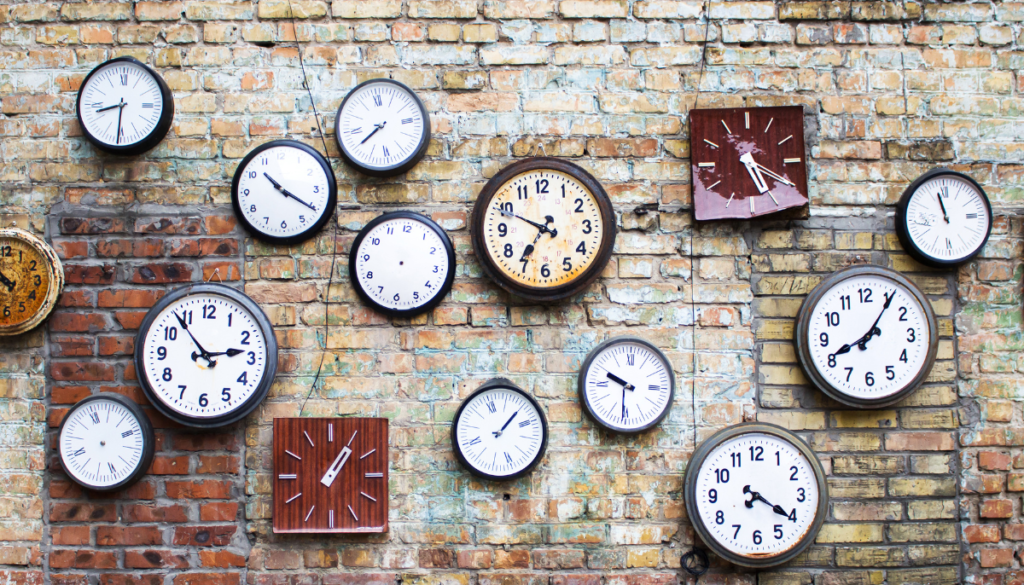
But if fabric art’s not your thing, consider metalwork or clocks that you already have or love. By adding a variety of materials and shapes, especially by including oval or round pieces, you can make your wall look more elevated and polished. If you’re feeling adventurous, you may even want to incorporate sculptures.
However, you don’t have to go out and buy new pieces to add variety! Get creative and incorporate mementos from your past. Ticket stubs, flyers from a show, Polaroids from a wedding, postcards, and many more objects that bring beauty to your life and remind you of a great memory are fantastic additions to your gallery wall.
Choose Your Frames
You’ve chosen all the pieces you want to include on your gallery wall, and that’s awesome! You’re finished with a major part of the process. Now it’s time to start thinking about what frames you want to use.
If you decided to go with a color scheme, then think about what frame colors would best complement your color scheme. Will blacks and browns bring more moodiness and depth to your room? Will whites and golds give it the crisp, luxe look you’re trying to achieve?
Read More: How to Add Art to Your Home
Start by using the frames you already have before purchasing new ones, and pay close attention to how any frames you buy will affect the overall look of your gallery wall. If you buy a bright teal frame, that’s awesome! Just know that if the rest of your frames are white, that frame (and the artwork it contains) will be a focal point.
If you’d like to add some extra elegance and dimension, think about “float” mounting a few of your pieces. In a float mount, the art print – or other object, like a ticket stub or a postcard – appears like it’s floating above the mat. Float mounts add an extra degree of elegance to your artwork!
Start Planning Your Arrangement
Finally, you’ve made it to what gallery walls are all about: putting it all together in a cohesive, beautiful arrangement. You have your photos, art prints, mementos, and other objects if you’ve chosen to include them all. You also now have all of your frames and possibly a color scheme. Now you need to combine them in a way that brings beauty and your personality into your home.
There are a few different ways you can do this, but don’t jump ahead and start drilling holes in your wall just yet! You’ll be unhappy if something doesn’t fit, and it will ruin all the effort you’ve put in so far. Don’t wing it!
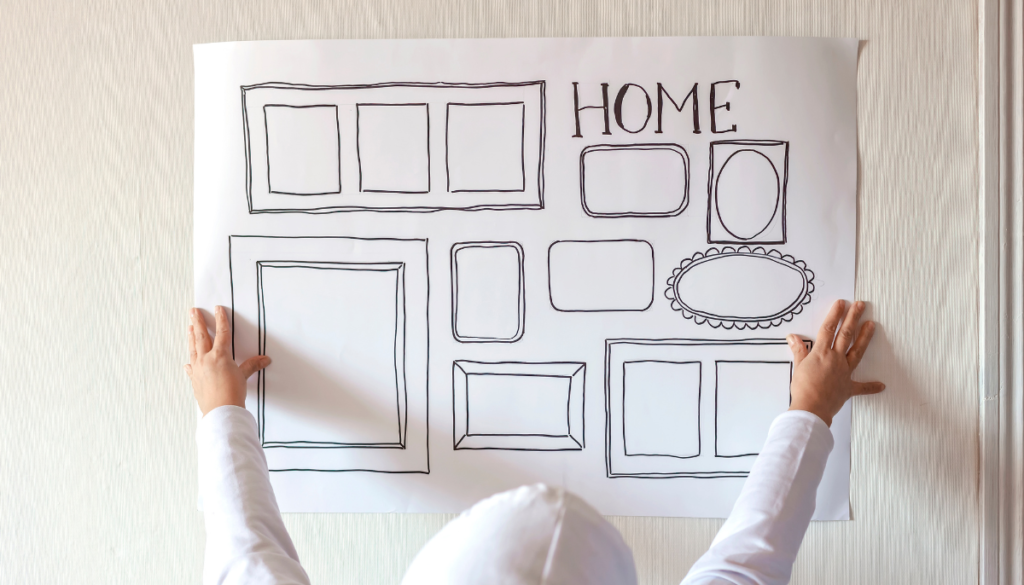
Instead, start by measuring the area your gallery wall will be covering. You can then tape off an area of the same size on the floor, find enough cardboard boxes to flatten into the area, or draw a to-scale version on paper if you’re comfortable with drawing and scale. Alternatively, if you have large sheets of paper (like kids’ art paper or posterboard) lying around, you can measure them and arrange them to match your gallery wall’s size.
Next, find your largest piece and get ready to make a decision. According to Style by Emily Henderson, “Start by placing your biggest pieces first, and build around them. I usually like to place my biggest piece in one of the four outer corners of a gallery wall if it’s a smaller collection, or just off-center, but towards the middle, if it’s a larger collection. This will be your jumping point for placing all your other pieces.
“Why off-center? So your eye travels around the gallery wall, rather than slamming straight to the middle of it.”
Play around with the arrangement. Do you like it better with the biggest piece slightly off-center? Or does the whole arrangement look so much better when the biggest piece is in one of the outer corners? Go with what you like best.
Balance Horizontal and Vertical Pieces
Hopefully, you’ve paid attention to variety as you’ve built your gallery wall, and hopefully, you have pieces in a variety of shapes – including both horizontal and vertical art prints. Now, as you arrange your wall, make sure you balance them out.
If the left side of your wall is all horizontal prints and the right side contains only vertical, you will have difficulty pulling off a cohesive gallery wall. Sprinkle a few of each orientation throughout your gallery wall.
Pay Attention to Your Mats
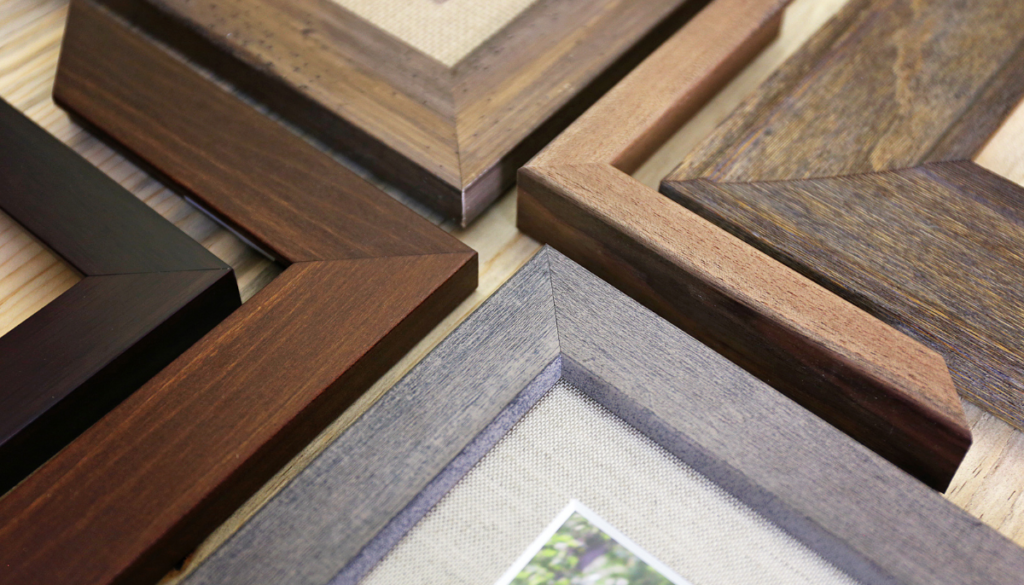
Let’s get specific here: the thick paper border surrounding your photograph is its mat. To keep your gallery wall looking cohesive and collected, try to use mats that are all the same color.
Black and white are the two most common colors for mats, so if possible, stick to either black or white for your gallery wall! (However, one easy way to draw the eye to a particular piece is by placing it in a frame with a mat that’s different from the rest).
Think About a Mini-Series
One more way to elevate any gallery wall is to include a mini-series. Usually, that means three small coordinating prints that are grouped together (in a row) and are placed in identical frames. It’s kind of like creating a mini gallery wall within your existing gallery wall, and it’s a great way to give your wall a more organized feel.
Read More: Spring Design Trends You Can’t Pass Up


