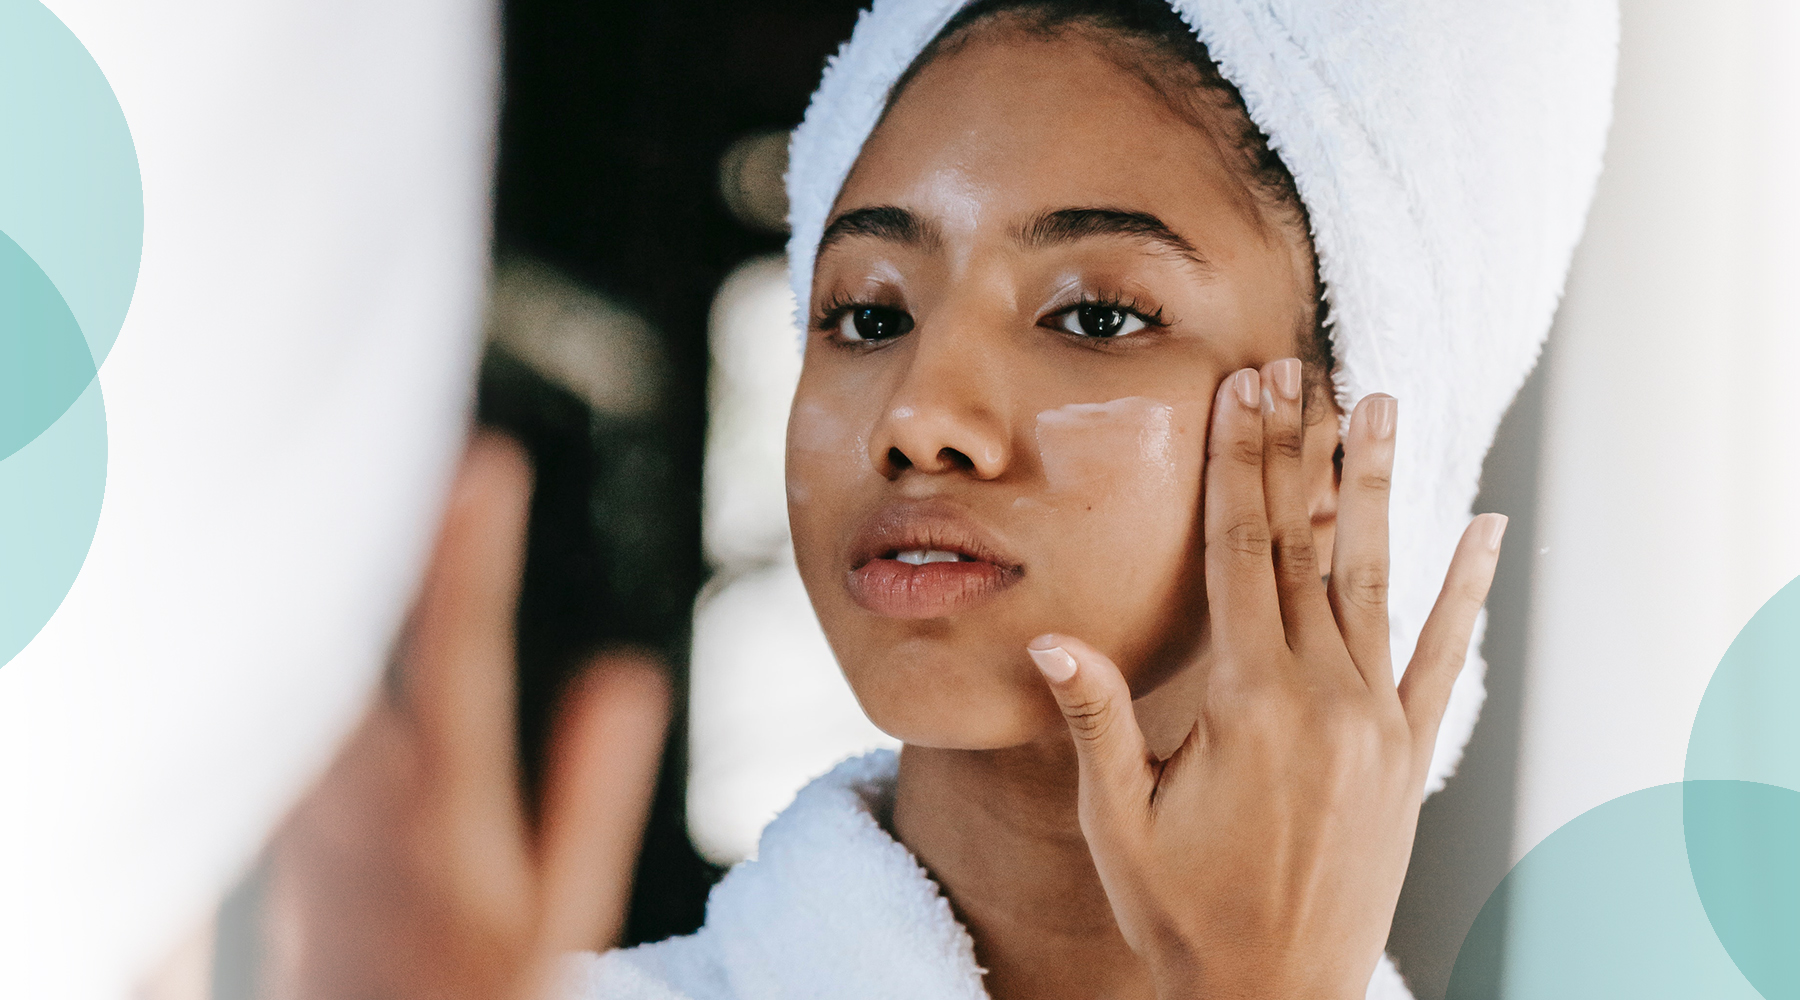
Do you think you have to go to the spa to get a facial? Not anymore! While going to a salon and getting a facial from an esthetician is a luxurious experience, it may not always be in your budget or schedule. But that doesn’t mean you have to go without it!
You can still pamper yourself at home with a relaxing and refreshing facial. All you need is time and a few key components that you can pick up at the drug store (or you can check out these beauty products that went viral on TikTok in 2021). Your skin will thank you for taking the time to care for it, and you’ll feel better knowing that you’re doing what you can to help your skin. Here’s what you should do to unwind and actively take care of your skin at the same time with an at-home facial.
Set the Ambiance
When you go to a salon or spa, do you immediately feel calmer the moment you walk through the door? I know I do, but what causes that sense of calm? Is it the neutral colors? The soft music? The wonderful scents? The candles and low lighting? Of course, it’s all of these factors combined that make visiting a spa such a wonderful experience.
You can turn your bathroom into an approximation of a spa by incorporating all or some of those elements. Light candles and play soft music or relaxing sounds. If you have an essential oil diffuser, use lavender, orange, chamomile, or bergamot to create a sense of tranquility.
Taking a bath might be the next best step in setting the ambiance. For some people, the bath will help them relax and re-center themselves. A bath helps them focus intently on their facial. For others, a bath is an inconvenience that won’t help them settle down and enjoy what’s about to come.
Do what feels best for you! You can skip the bath, get into it at the beginning, or wait until it’s time to put on your face mask to sit down in the tub. It’s up to you!
Cleanse Your Face To Wash Away Impurities
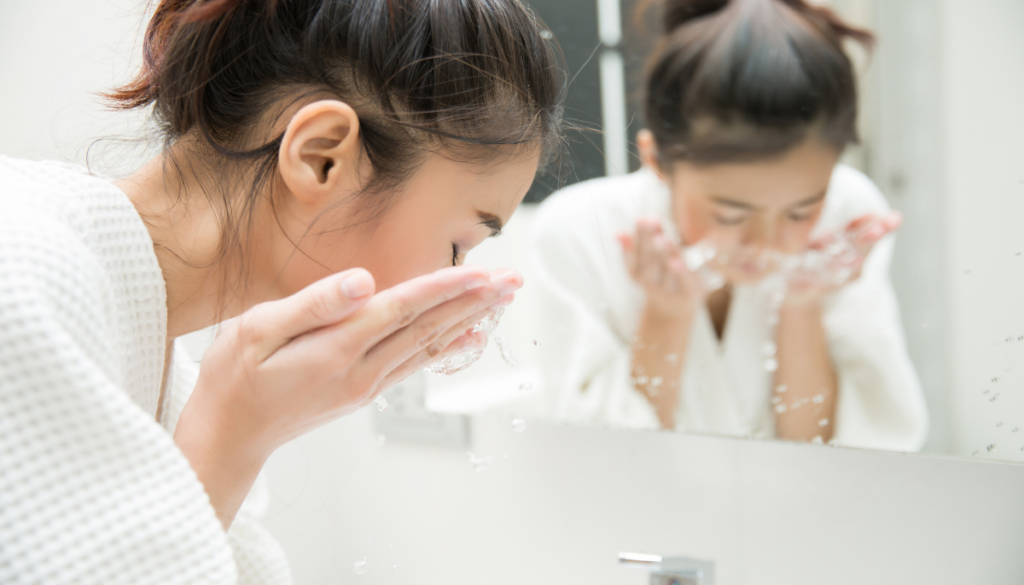
After you’ve set the ambiance, it’s time to cleanse your skin. Most experts recommend starting by washing your face with an oil-based cleanser that will help remove makeup and general impurities. Then they recommend using a water-based cleanser, which can be either foam or cream, to help prepare your skin for the next steps.
While you’re cleansing, make sure to wash all parts of your face. Don’t leave a spot untouched! For example, you may forget to wash the creases on either side of your nose near your nostrils, but it’s important to wash these too.
Exfoliate To Eliminate Dead Skin
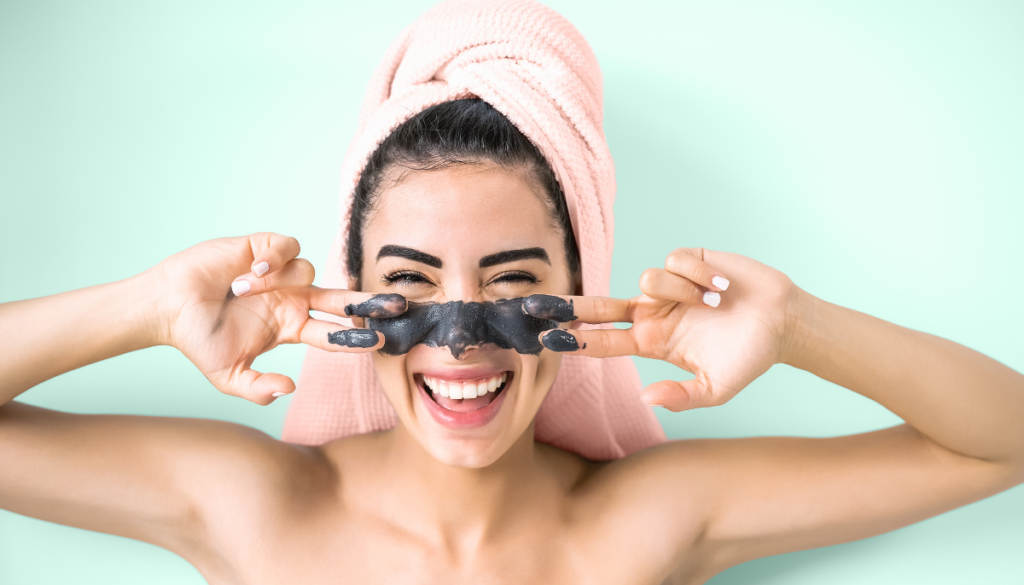
Your next step is to exfoliate your skin. Be careful with this step, as you can over-exfoliate if you use certain products or rub your skin too harshly. There are two types of exfoliation: physical and chemical. Physical exfoliants are typically powders or scrubs and can be better for more sensitive skin.
Chemical exfoliants are often harsher than physical exfoliants, so be extra careful if you go this route. Tonics and toners are two types of chemical exfoliants, but you can also find alpha hydroxy acid pads that you can rub on your skin.
Remember, this is one of the steps where you can do the most damage to your skin. If you’re already comfortable with exfoliation, then proceed as you normally would. But if you’re new to it, take extra caution.
After you exfoliate, it may be tempting to try to extract blackheads or pimples. However, it can be dangerous to your skin to extract on your own. Wait until you can visit an esthetician for an extraction.
Apply a Mask and Relax
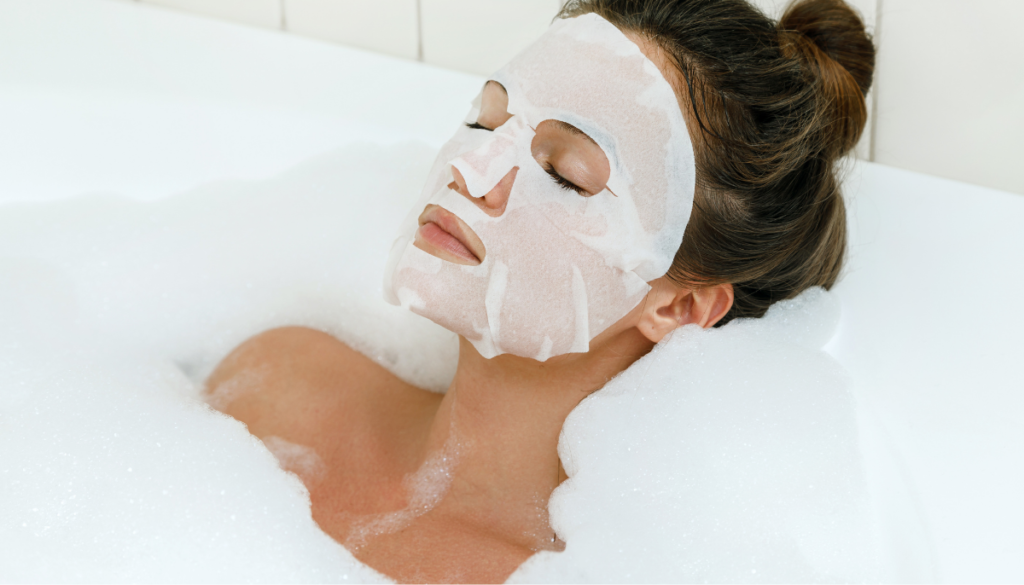
Here is the heart of any rejuvenating facial: the mask. If you want to relax in the bath for just part of your facial, now is the time to step in.
What kind of mask should you use? That depends on what exactly you’re trying to improve. If you have dry skin, find a rich, creamy, moisturizing mask. If your skin is acne-prone, then a clay or vitamin C option may help your blemishes. There are masks for anti-aging, for brightening, for clarifying, and for many more skin conditions. Take the time to research your current skin problem areas and to find the masks that are recommended the most for those conditions.
While there are many masks available at the drugstore, you can also make a mask on your own at home. It’s easy to find recipes online for yogurt or oatmeal-based masks that you can whip up in your kitchen. Avocado, honey, and flaxseed are other popular ingredients.
No matter what recipe you whip up, if it’s possible, try to test the mask out on a patch of your skin (not your face!) before you use it. You should also avoid mask recipes that contain lemon or baking soda because these ingredients can be extremely abrasive and can end up damaging your skin instead of helping it.
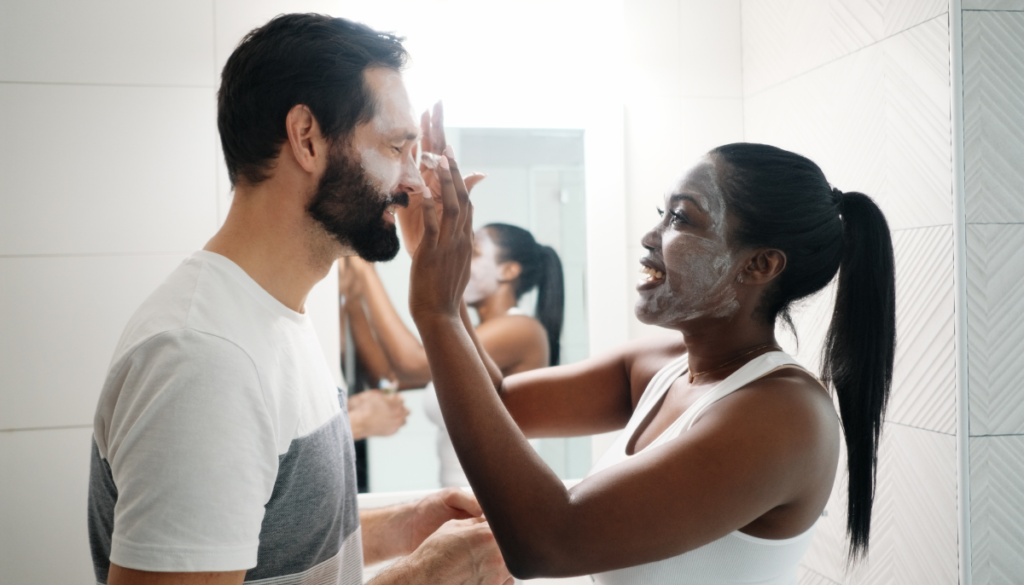
Whether you’re sitting in front of the mirror or stretching out in the tub, now massage the mask deep into your skin. Then, sit back and relax. I know that whenever I use a mask I like to lie down in bed and either look at my phone or read a book. I move as little as I can during the time that the mask is soaking into my skin. Simply relaxing in the bath is another great way to pass the time while your skin absorbs the rich ingredients.
It’s Steam Time
Steam opens up your pores and allows the ingredients from your mask to enter your skin more easily. So, while your mask is soaking into your skin, let steam soak into your pores by either soaking a towel in hot water and placing it directly on your face. Or you can position your face over a bowl of steaming water and drape a towel over your head to trap the steam in.
While the first method (placing the hot towel directly on your skin) can be effective, it also comes with a higher risk of damaging your skin. Be careful and don’t get the water so hot that it burns your skin. You may want to start by using the bowl method and then change to the direct towel method if you think it’s necessary.
After the steam has cooled off, wash off your mask according to the instructions on the packaging, which is usually by simply using warm water and a washcloth.
Apply a Serum
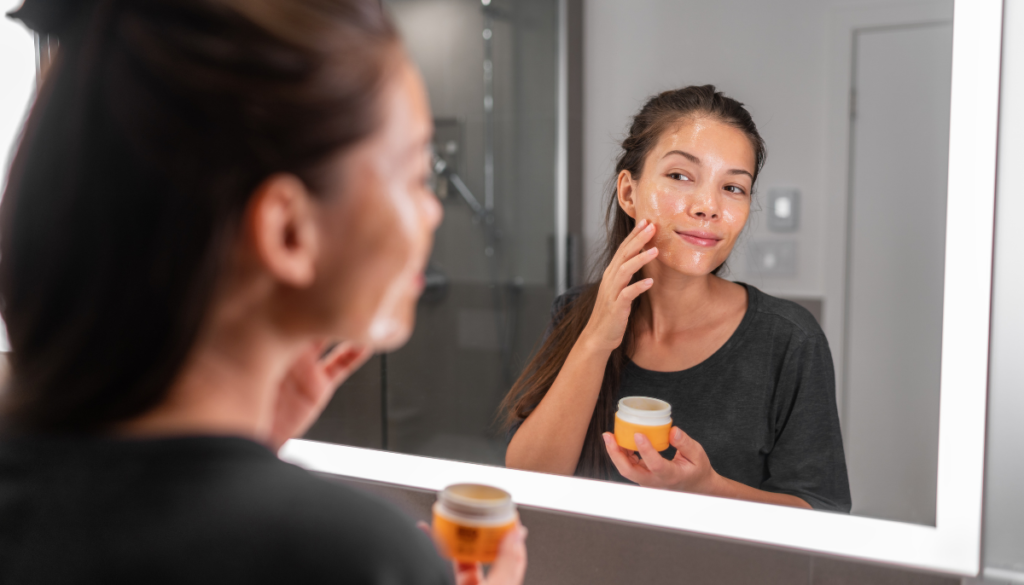
You’ve given your skin the deluxe treatment, and now you’re almost finished! Before you can apply your moisturizer and be on your merry way, you should use a serum. The type of serum you use also depends on what you’re targeting, but for the most part, serums help with hydration. You can also find anti-aging serums that may help you improve your problem areas!
Make Sure to Moisturize
Last but not least, make sure to moisturize as the last step of your facial. Your skin needs that extra protective barrier of protection. Thoroughly massage in your moisturizer, which you can do with either your fingers, a roller, or even a gua sha tool. However, you won’t want to use a gua sha tool if you have certain conditions like skin rashes, blood coagulation, or platelet issues.
If you gave yourself a facial in the morning – props to you! What a relaxing way to set yourself up for a wonderful day. Remember to use sunscreen after you moisturize, or to use a moisturizer that contains sunscreen before you leave home.
But if you did your facial at night before bed, once you’ve moisturized, you’ve done everything you need to treat your skin right. Go to sleep with fresh skin!
While You Mask: Pamper Your Feet
As a bonus, you may want to take the time to pamper your feet while your mask is soaking into your skin. You can take a tub, fill it with water, sprinkle in Epsom salts, add a few drops of an essential oil, and let your feet soak while your mask soaks into your skin. The mixture should leave your feet softer and your body happier!
Taking care of your skin is so important, especially during the dry winter months and stressful times in your life. Learn how to take care of your skin on your own and the simple ways you can make the most out of your beauty routine. Don’t forget to schedule yourself an at-home facial a few days before a big event, and of course, you can always dive right into the process whenever you feel like it. Your skin will thank you!

