Polygel nails are rapidly gaining popularity. You can get polygel nails at a salon, but they are also quickly becoming the go-to for DIY enthusiasts doing their own manicures at home.
If you’ve seen a polygel manicure on Instagram or TikTok, it probably left you wondering what it is. Or, maybe you didn’t even know it was polygel. It can be easy to confuse the finished product with nail extensions done in acrylic or gel.
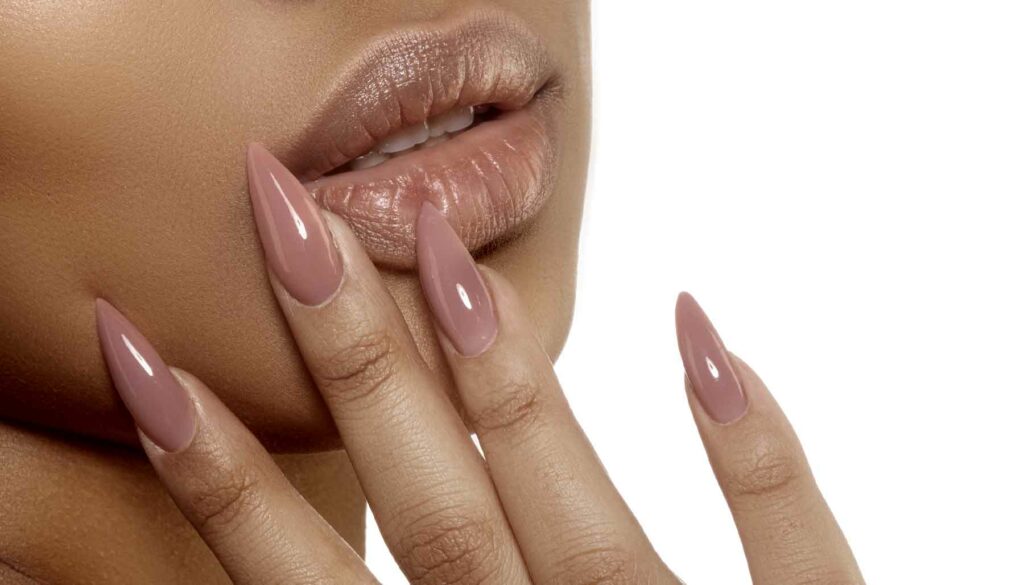
The first time I heard someone mention polygel nails, I knew I wanted to test it out. No matter what I do, my real nails always end up breaking. It drives me crazy when there’s a single broken nail that doesn’t match the rest, and then I end up having to cut them all to match.
Press-on nails are a great temporary way to get longer nails in all kinds of designs, but they never last for very long. I don’t care what kind of nails or glue it is, they’re definitely a very temporary solution. There’s nothing worse than popping off a nail while in the middle of something in public!
The longer-lasting solution is obviously hitting up the nail bar for acrylics. And for a while, this is what I was doing. Unfortunately, it’s not always easy to fit into a busy schedule, and it’s definitely not easy on my wallet.
I looked up polygel, prepared to find something either A: really difficult; or B: really expensive. What I actually found was neither!
So if this has piqued your interest, too, let’s go over the basics of polygel nails and how to try it at home!
What Are Polygel Nails?
Polygel was initially created for nail technicians, but there are now plenty of at-home kits for you to try. It’s definitely more user-friendly than, say, acrylics, but it’s a little more difficult than just wiping on a gel manicure.
The formula itself is a mix of acrylic and clear gel. Unlike other methods used for nail extensions, there’s nothing to mix here, though. The all-in-one formula is already ready to go. It usually comes in a tube, kind of like toothpaste, and has a similar consistency, too.
Finished polygel nails are really light, but they still boast strength and durability like other nail extension methods. You can buy polygel in just about any color imaginable, but you can also just paint over polygel nails, too. This makes them incredibly versatile.
There Are a Handful of Ways to Use Polygel
Polygel is also adaptable because you can apply it in a variety of ways.
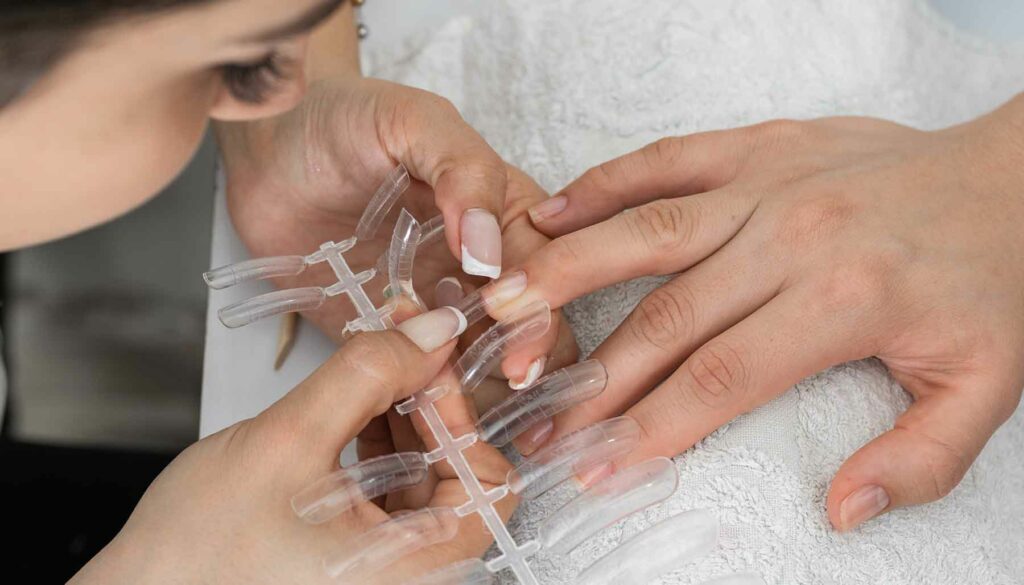
When I applied my polygel, I used clear plastic nail forms, often called dual forms. After prepping my nails, I put the polygel directly into the plastic form. Using a brush and slip solution, I shaped the polygel, and then pressed the form with the polygel inside onto the top of my nail before curing it. This is the easiest way for beginners to create nail extensions – although it still requires a little practice to get it just right!
Polygel can also be applied directly to the nail, for anyone who prefers building it that way. To create nail extensions this way, polygel can be applied over top of nail tips. Just glue them on first, and apply the polygel to the nail after. You can also build polygel nail extensions with the help of paper nail forms, although this one requires more practice and skill.
There is one more way to use polygel. It can also be applied directly to your natural nails, almost like a strong, thick nail polish – no extra length added. If you have issues keeping your nail polish from chipping, or you are trying to stop biting your nails, this is a pretty fool-proof solution.
No matter which way you use polygel, you have plenty of time to shape or sculpt it how you want, because the stuff doesn’t dry. It must be cured with a light in order to harden.
How Long Do Polygel Nails Last?
If you do it right (or have it done by a professional!), a polygel set can last for three or four weeks before new growth needs to be addressed. The polygel nails themselves are lightweight and flexible, so they’re less prone to breaking.
It’s worth noting that they can be more susceptible to lifting and coming off prematurely if you don’t tend to your cuticles and file the surface of your nails. And, if you use your hands a lot or do a lot of activities that are rough on your hands, it might shorten your polygel manicure’s life a bit.
After your polygel nails start growing out, you can fill them in with more polygel like you would with acrylics or gel. To remove the nails altogether, you soak them off similar to how you remove gel polish.
What Do You Need to Do Polygel Nails at Home?
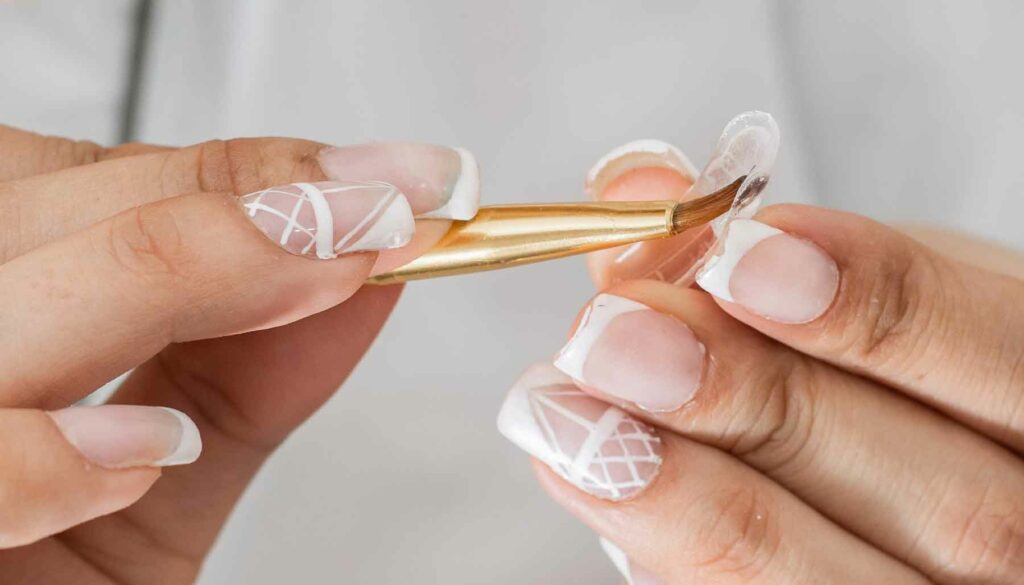
If you’re feeling ambitious, you can definitely try out an at-home polygel manicure. There are several kits available that include many – if not all – of the items you will need. But whether you are purchasing a kit or you are buying everything à la carte, these are the items you absolutely need:
- Nail File – The nail file is important for two reasons. You will need it to shape your polygel nails after curing them, but you will also need a file to prep your nails before putting on the base coat. This will help the nails last longer. You’ll want a few different files, or one with different grits on each side.
- Base Coat – This also helps prep your natural nails to enable the polygel to last longer. It seals the oil from the nail, and also provides a smooth surface for the polygel to stick better.
- Top Coat – Just like with any other manicure, you want that top coat to protect the stuff underneath and provide plenty of shine. The top coat you use for polygel also needs to cure under the nail lamp.
- A Nail Brush and Spatula – My nail brush actually has a metal spatula on the other end, and many of the ones I’ve seen are the same way. These are the tools you need to apply and sculpt the polygel.
- Slip Solution – Polygel is sticky, so you need to dip your brush in slip solution first. If you don’t, the polygel will just stick to the brush. You also brush the cured polygel with slip solution to remove any stickiness. You can also use rubbing alcohol, as long as it’s 70% or above.
- Nail Forms – Unless you are using nail tips or paper nail forms, you will need the plastic nail forms to create your extensions before applying them to your natural nail. Some are more curved while others have a straighter shape.
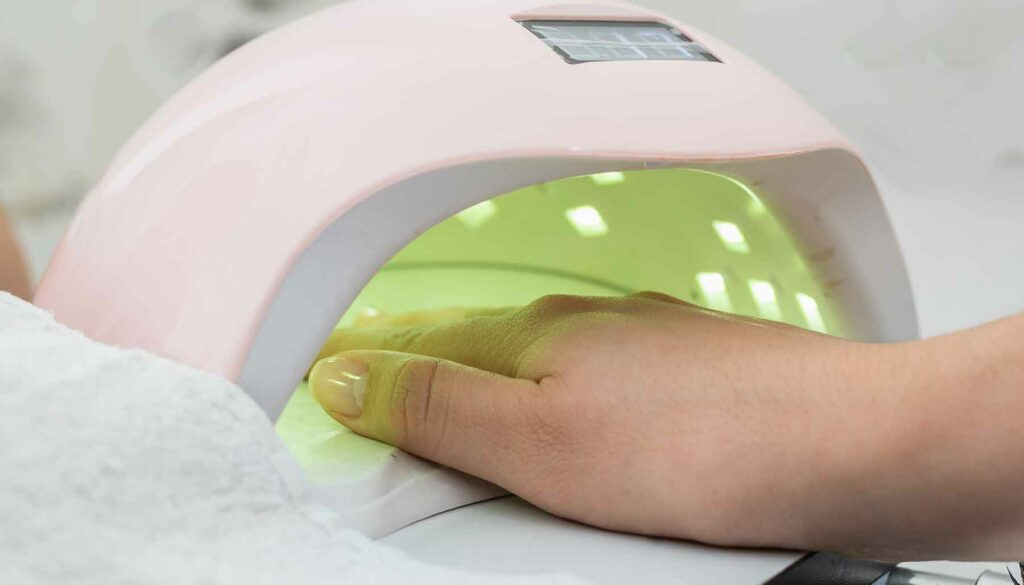
- Nail Lamp – an LED nail lamp will cure everything. You’re going to use it for the base coat, the polygel, and the top coat. Without it, your polygel won’t harden!
- The Polygel Itself – Of course, you’re going to need the actual polygel to create polygel nails! From clear to glitter and everything in between, you can find just about any color you can think of. There are even polygels that glow in the dark or change colors with temperature.
How to Apply Polygel at Home
Polygel nails can seem a little overwhelming if you’ve never done it before. But once you get the hang of it (with plenty of practice!), it definitely gets a lot easier. I would suggest not DIYing it for the very first time right before a big important event.
The actual steps you take will vary depending on the products or kit you purchase, so always follow those. But I did want to include a general guideline just to give you an idea of what it entails.
- Prepare your natural nails. This includes filing and buffing the nail plate to provide the perfect surface for your polygel nails to adhere to, and pushing back the cuticle.
- Wash your hands and/or wipe down your nails with nail surface cleaner or rubbing alcohol. This will remove any debris, dust, and oil.
- If you’re using nail forms, go ahead and size them up now! I like to find the correct sizes before putting on the base coat, which can be kind of tacky (it helps the polygel adhere).
- Brush on your base coat, and cure it under the nail lamp. The amount of time needed will depend on your product, but it’s probably around 30-60 seconds.
- Use the metal spatula to apply a pea-sized amount of polygel to the inside of the nail form, or directly to your nail if you’re not using a form.
- Dip the brush into the slip solution, and then use it to pat down and sculpt the polygel into the desired shape and length.
- If using forms, you’re now gong to press it on top of your nail, and use the brush to clean up any excess that comes out from underneath.
- It’s time to cure the polygel! Stick your nails under the nail lamp for 30-60 seconds. Then, turn them over and cure the back, as well.


