I love all those beautiful, detailed Instagram-worthy nail designs. But let’s be honest here: I don’t have the skills or the time to do it on my nails myself.
Sure, I could go to the nail salon over and over again, if I want to spend that kind of money. I’d also have to search around for the perfect nail tech that can nail the designs (pun intended).
In reality, I’d rather just be able to do it myself. I could save myself a ton of money, and it wouldn’t require going anywhere.
That’s where nail stickers come in, right? But what if I told you that you didn’t have to be limited to what’s out there? What if you could make your own for next to nothing, and in whatever colors and designs you could dream up?
How to Make Your Own DIY Nail Stickers
Seriously. All you need is a plastic sandwich bag, nail polish, an orangewood stick, and a nail file.
Essentially, you’re just going to paint a thick layer of nail polish onto a plastic sandwich or freezer bag, and then let it dry. Once it’s dry, it will easily peel off as a sheet of polish. Remember that the thicker the polish, the easier it will be to peel later.
Paint your fingernails with clear polish, and while it is still wet, stick on the dried polish sticker and press down so that it sticks to your nail.
Use the orangewood stick (or another cuticle pusher) to press down around the shape of your nail and cut away at the excess around your nail. Peel away the excess, and use a nail file to get the overhang at the end of your nails.
Finish it all with a clear topcoat, and you’re done!
These DIY nail stickers are a great way to experiment with different colors and designs, without having to paint directly on your nails — which is no small task unless you’re an ambidextrous artist. It’s also a great way to get a pristine paint job without making a mess or winding up with streaks and smudges.
So, without further ado… Let’s take a look at how you can create your own nail stickers!
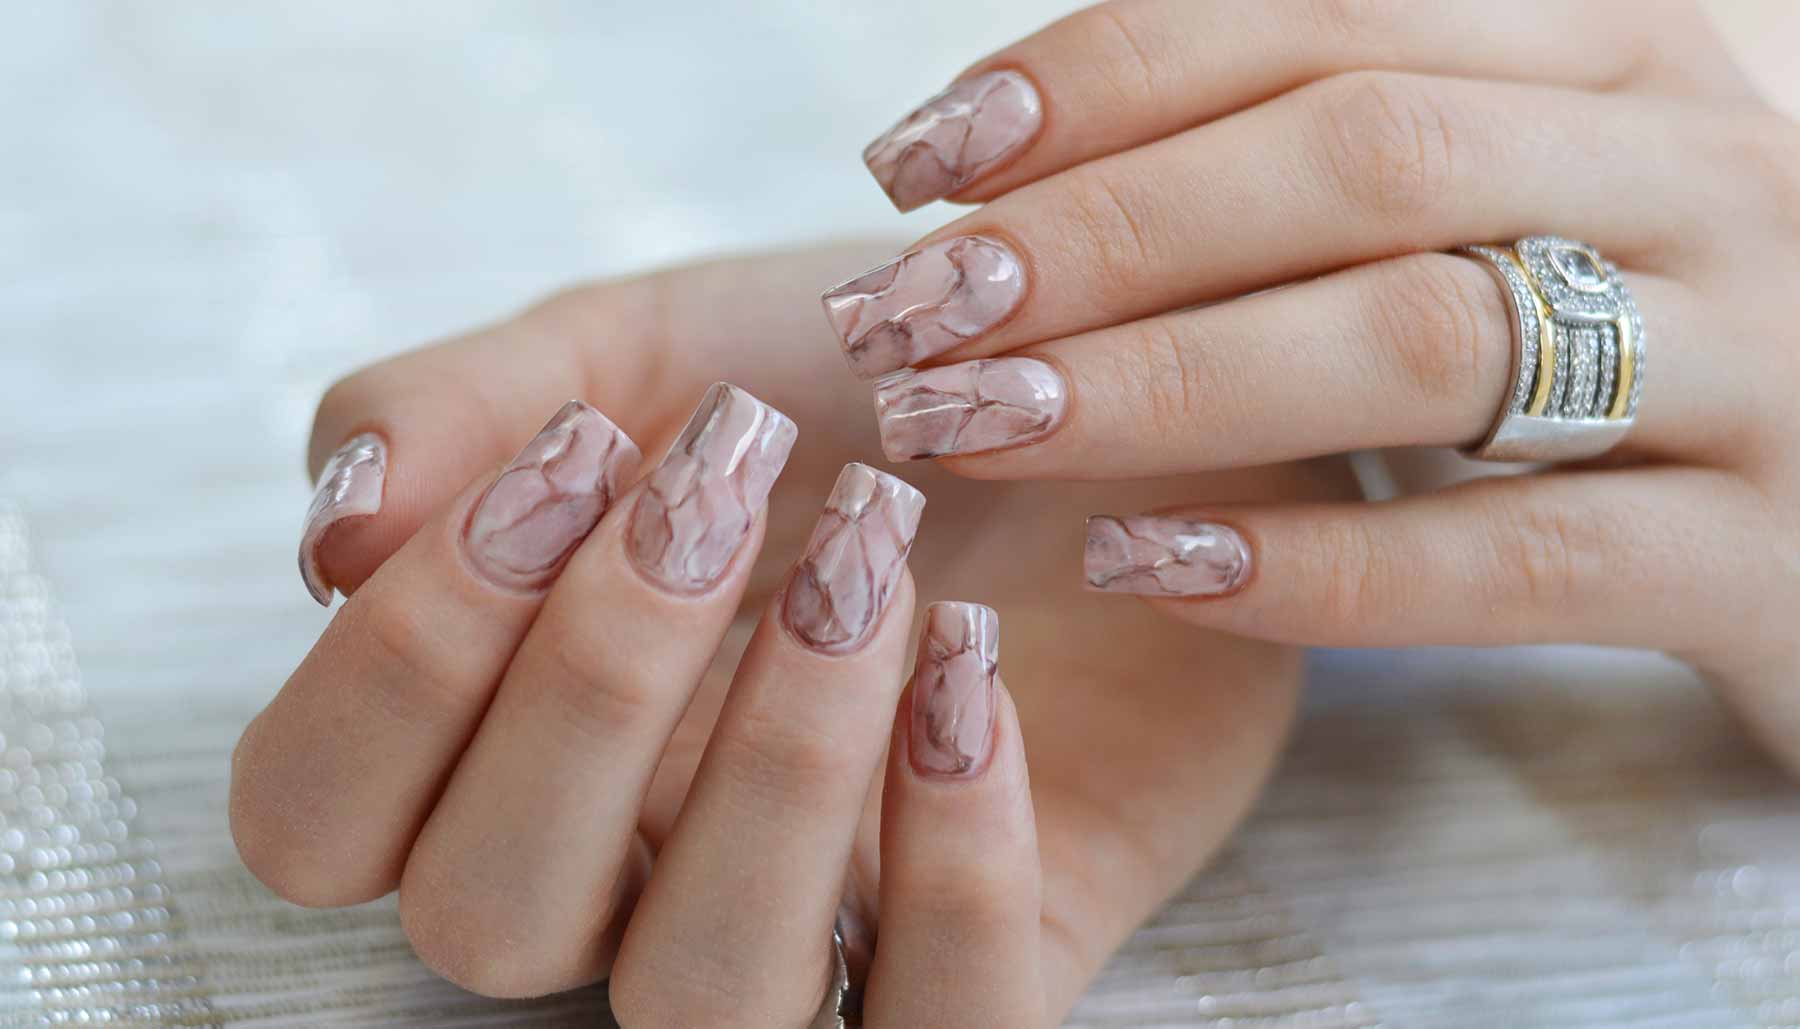
The Marble Look
For this design, you’ll need a few polish colors of your choice, and a brush or a toothpick to create the marbled look.
As you can see, it’s extremely easy to get this marble look! This is something that I wouldn’t be able to do directly on my nails, but working on a flat surface first makes it doable.
Cutting Shapes
You don’t have to do single sheets, either. You can cut shapes out of the polish after it dries, too. This is an easy way to get cool designs if you’re not able to paint small designs yourself. You can use small hole punches or scissors that cut decorative edges. If you’re skilled with a craft knife, you could even freehand your shapes.
More Detailed Designs With a Stamper
If you’re ready to get into more detailed designs, you can use rubber stampers to create your nail stickers. In this video, you’ll see how to use a stamper and plate to do the outline, and then fill in the tiny designs with a toothpick! This is definitely much easier than trying to do this directly onto the nail.
Clearly, the possibilities with these DIY nail stickers are endless! Personally, I’m just happy I don’t have to sit around forever waiting for my nails to dry anymore.