Our eyes have always drawn plenty of focus — but nothing says “all eyes on me” quite like the ultra-glam cat-eye.
There are a thousand ways to do a winged liner, but there’s one thing that remains the same no matter what: it’s universally flattering. It instantly enhances the shape of the eyes, and adds a touch of drama to any face.
How do you nail it, though? Here is a step-by-step guide on rocking this look.
Step 1: Tightlining
Before you start swiping that liner on, start with the makeup artist-favored tightlining — aka the invisible eyeliner trick. It’s a subtle technique that does a lot for your eyes without a lot of effort or product.
Essentially, you’re filling in the upper waterline, and getting in between each and every lash and filling in all those gaps. Tightlining can make your lashes appear thicker and fuller at the roots. But when you’re doing a bold, dark liner, it can also prevent that weird line that happens beneath your eyeliner.
It’s best to do this trick before you start with the rest of your eyeliner and eyeshadows. That way, you can really get in to fill the spaces between your lashes without worrying about messing up everything else.
Step 2: Neutral Eyeshadow
Nope, we’re still not swiping those cat-eyes on just yet. Next up: eyeshadow!
Start by swiping on a light, neutral eyeshadow on your lids for a clean backdrop, and for added contrast to your liner. I personally like to choose something with a little sparkle, but you don’t have to choose shimmery eyeshadow if it’s not your thing.
Brighten up the inner corners of your eyes with a slightly lighter color than you did on your eyelids to create the illusion of larger eyes. Then, while you’re at it, blend in a warm, natural brown at the crease. Really, we’re just trying to enhance the natural shape of the eye to make a great backdrop for that liner.
Step 3: Picking the Color
I know that black is the universally accepted cat-eye color, but there’s a whole rainbow of options out there. Don’t feel like you have to reach for the blackest blacks. In fact, a warm, deep brown is flattering on basically everyone and brings warmth to the eye area. Brown will define the eye without pulling too much focus, and is clearly a little more subtle than black.
If you want to take a walk on the wild side, you can also reach for just about any color you could think of. Thanks to companies like Rihanna’s Fenty Beauty, more colors are readily available (at affordable prices, too).
Of course, that tried-and-true black liner is always in style in the world of winged liner. This ultimate classic will give a sharp and clean look, always.
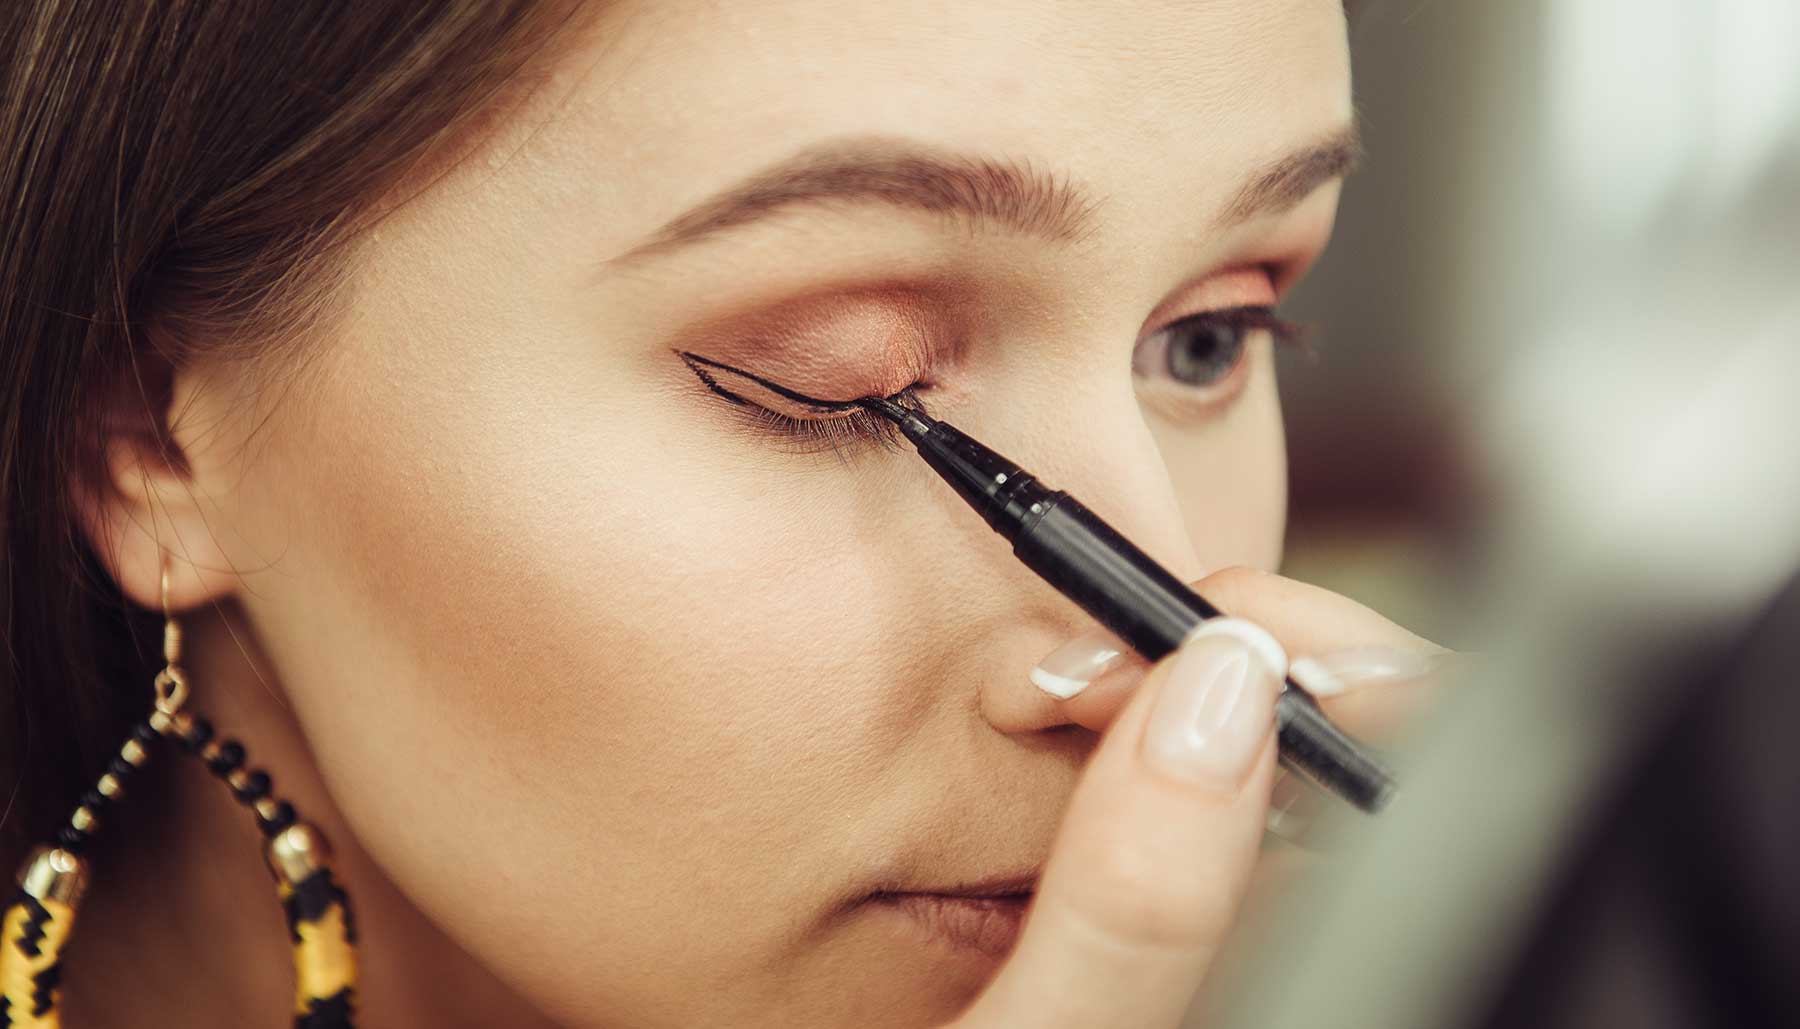
Step 4: Time for the Eyeliner, Already!
What seems like a simple, straightforward operation can seem pretty intimidating to someone who hasn’t already done it a thousand times over.
It’s usually best to start with the liner at the inner most corner and draw it out slightly past the end of the eye. You want the line to be ultra-thin at first, and gradually get slightly thicker as you move outward. It’s best to follow the curve of your water line for the most flattering shape. Oh, and keep a relaxed face!
Then comes the wing. The angle you choose here is dependent on your individual eye shape, so sorry, I can’t help you with that!
If you accidentally make a mistake or end up with a wing that’s too thick, use a Q-tip dampened with micellar water to help refine the line.
Step 5: Mascara
At the end of it all, don’t forget the mascara! Curl your lashes if desired, and wiggle that mascara on. Concentrate on the outer corners for that eye-widening curve that accentuates cat eyeliner.