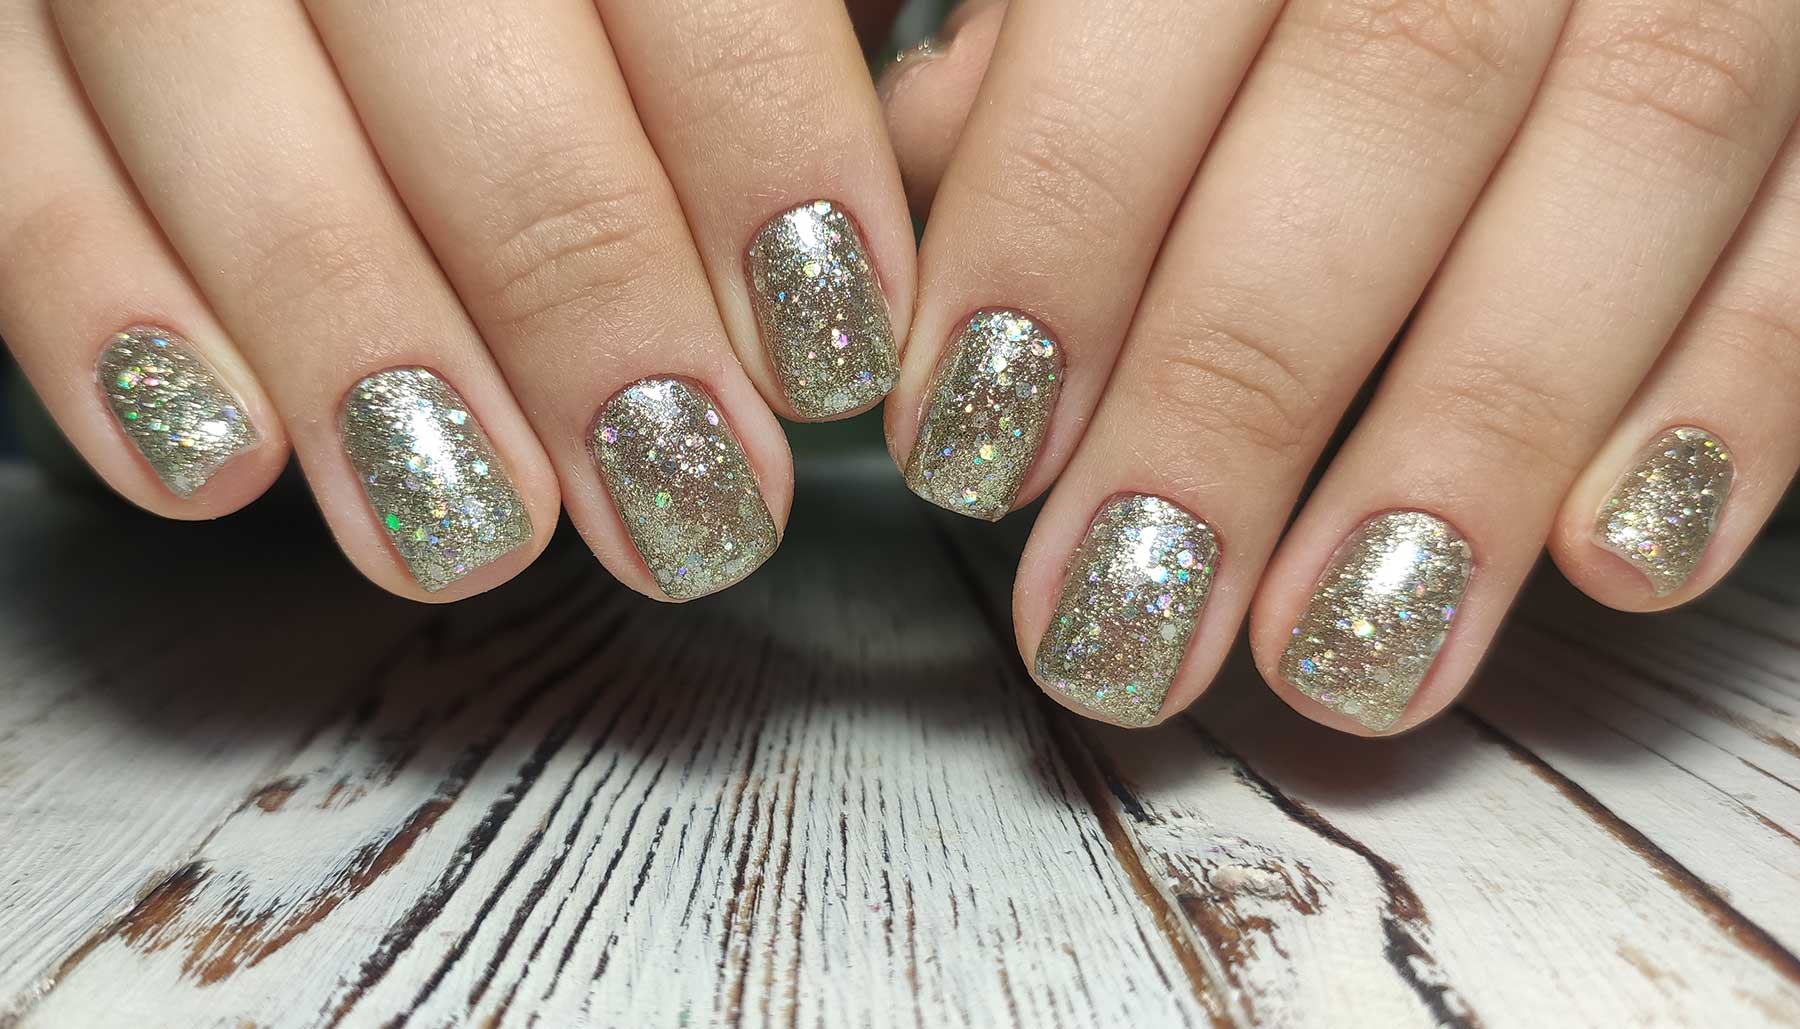
There’s nothing quite like a good manicure to make you feel fancy. That post mani feeling is the best. There’s just something about having pristine nails that have been soaked, filed, and painted to perfection.
Besides, nails are the perfect glamorous way to top off any ensemble. That extra touch can add a lot.
When trying to find the perfect nails to compliment your style, where better to look than pulling inspo from celebrities? After all, celebs always have their nail game on lock. They consistently have killer manicures, thanks to being in the spotlight constantly.
I love a good nude nail, but right now, it’s all about glam. We’re ditching the bland beiges for something a little extra: glitter.
Of course, shimmering glitter on your nails isn’t really anything new. But the look has certainly come a long way from all those sparkly polish bottles at your middle school sleepovers. These days, glitter nail polish can be the perfect finishing touch to your carefully curated winter vibe.
But if you did have all that glitter nail polish in middle school, I’m willing to bet it’s not your favorite. After all, it goes on so sparse — not at all like what it looks like in the bottle — and it’s always extremely difficult to get off. That’s why I’m here to drop some expert tips on getting those glam celeb-inspired glittery digits, and then getting it off with ease, too.
The Sponge Trick
I recently came across a tutorial from nail vlogger Kelli Marissa. I wasn’t expecting a YouTube video to change my life or anything, but I think it might have. Don’t judge me — the video is actually 4 years old. But I’m willing to bet that if it took me this long to find this genius hack, you might not have seen it yet, either.
If you’re just brushing the glitter polish on like you would any other color in your collection, you’re doing it wrong. According to Kelli’s epic tutorial, you’re going to need your favorite glitter polish, liquid latex (optional, but recommended), and a makeup sponge.
Cover the skin around your nails with liquid latex so that it doesn’t get covered in polish, and start with your usual base coat. Then, apply the glitter polish to the edge of a makeup sponge, and use it to dab the glitter onto your nail. The trick here is that the sponge helps soak up some of the clear polish, leaving the glitter to go on more dense. Finish up with a top coat and you’re ready to sparkle!
Check out her tutorial:
Removing Glitter Polish
My biggest gripe with glitter polish has got to be removal. Once you’re ready to get it off, you might as well reach for some sandpaper to file the whole nail off. The stuff is nearly impossible to remove. That’s why instead of attacking it with regular polish remover and a cotton pad, we’re going to treat it like gel polish.
Start by buffing to break the seal. Don’t do it enough to damage the nail, just to get into the first layer of polish. Then, take cotton balls that have been soaked in acetone, place them on each nail, and wrap them up in aluminum foil to hold it in place. After about 10 minutes or so, the polish should come off much easier.
For more on how to soak off polish like this, check out: How to Safely Remove Gel Nail Polish at Home
Peel-able Glitter Polish
If you like changing your nails often — or you don’t feel like dealing with soaking the polish off — I have a simple hack to make polish that peels. Just be aware that this is best if you only want the glitter to stick around for a couple of days, because regular showering and hand-washing will break it down quickly.
Instead of a regular base coat, swap that clear lacquer for some Elmer’s glue. No, really. Paint this all-purpose, non-toxic glue on your nails as a base coat. You can mix it with just a bit of water and brush it on.
The glue will coat your nails, and then just peel off when you’re ready for a new look!


