Fashion disasters happen to us all at some point. With a little foresight and a lot of safety pins, you can handle anything that happens. Here’s how to fix common clothing problems—and how to stop them from happening in the first place.
Related: Gift Ideas for the Fashionista in Your Life
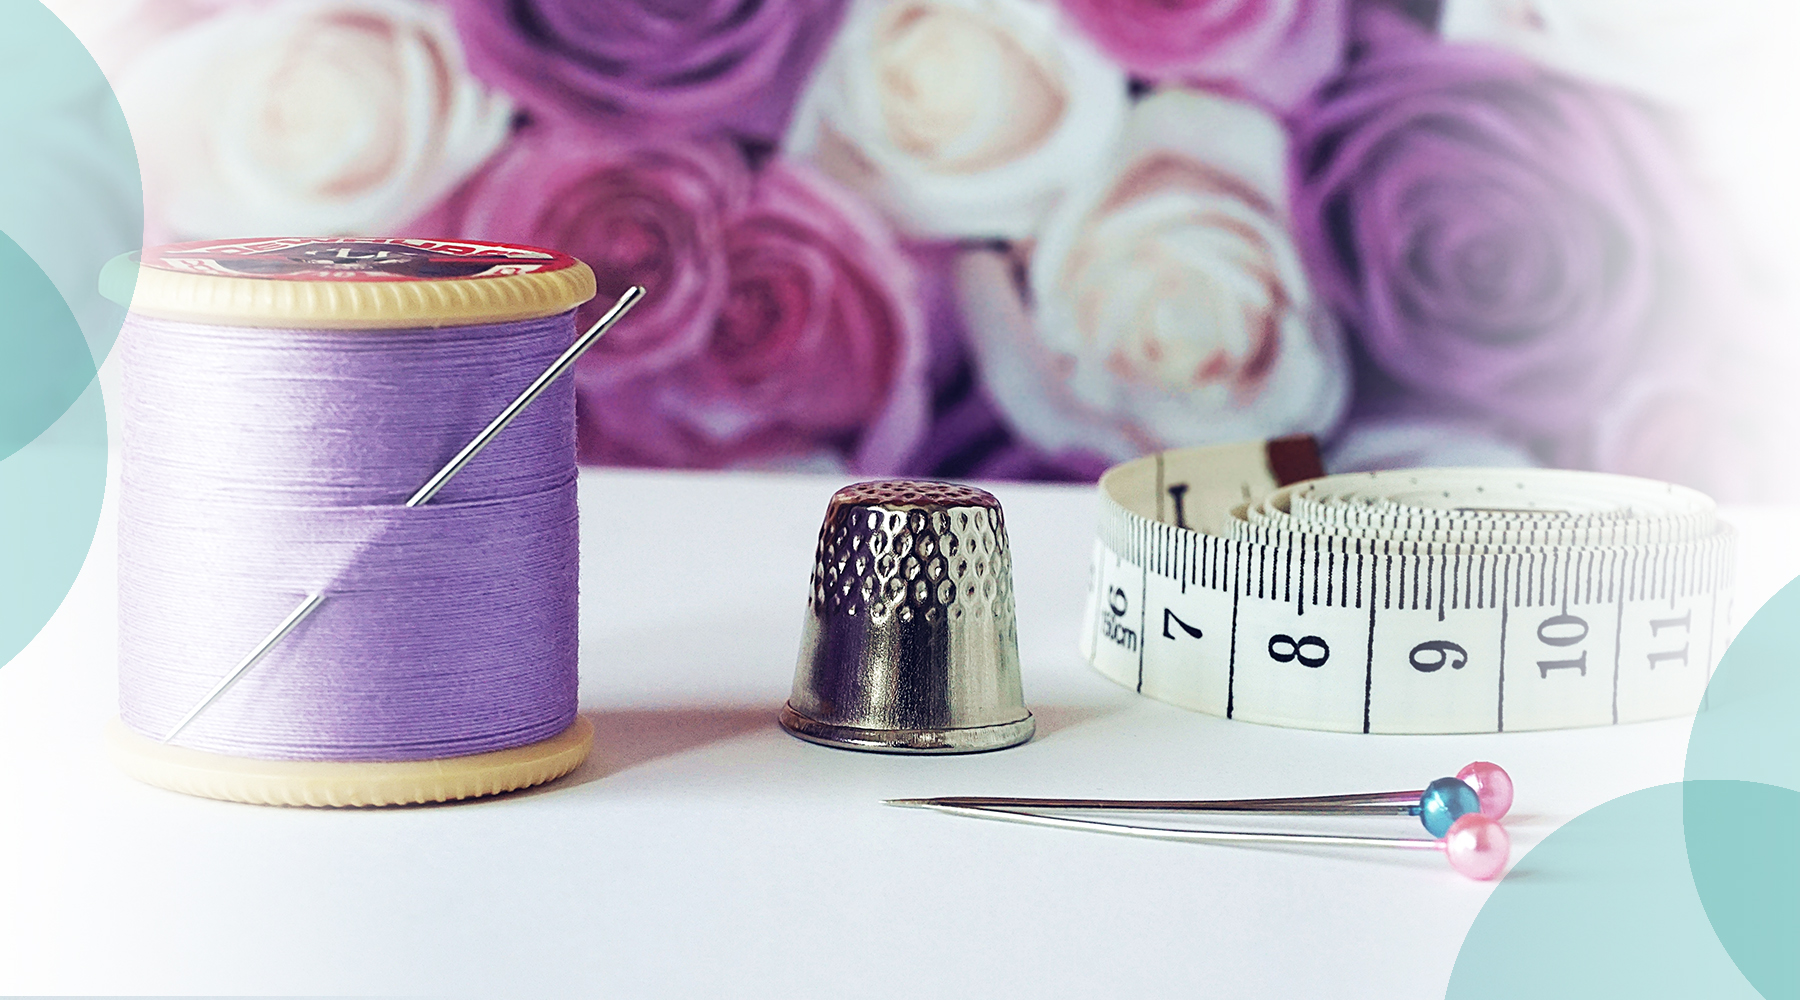
Emergency Repair Kit Essentials
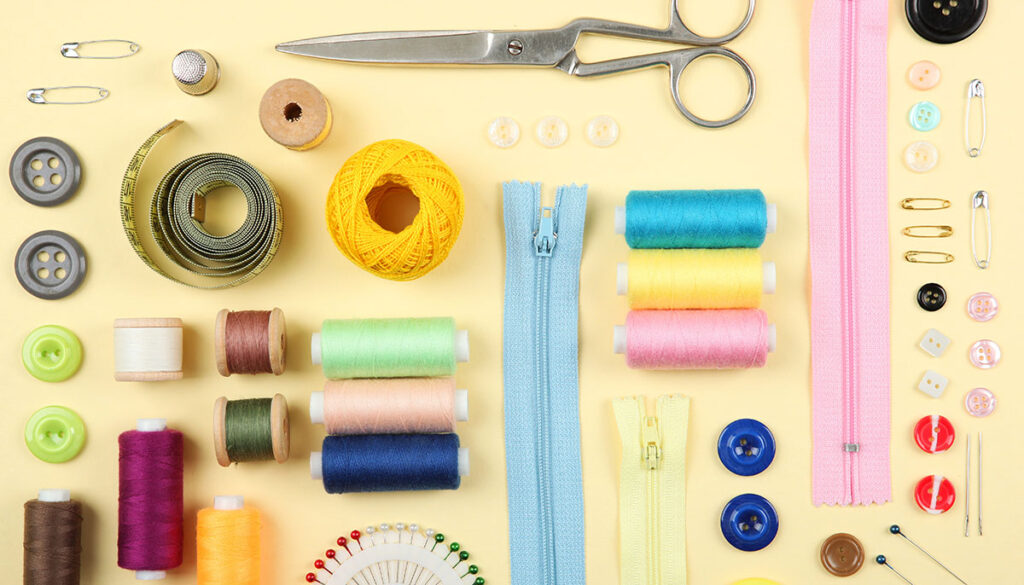
It’s a good idea to keep some double-sided fashion tape, a handful of safety pins, and a needle and thread in your purse, desk, or car. In addition, include a black Sharpie marker for hiding scuffs on black shoes. A couple of clear mini rubber bands or hair elastics can come in surprisingly useful. Round out your kit with a tiny pair of nail scissors and a bottle of superglue. A cute makeup pouch should be able to hold everything comfortably.
Pro Tip: pre-thread your needle with a two-foot length of thread and knot the ends together. That way, you won’t be stressing over threading it when you’re already dealing with a fashion emergency.
The Dreaded Button-Down Gap
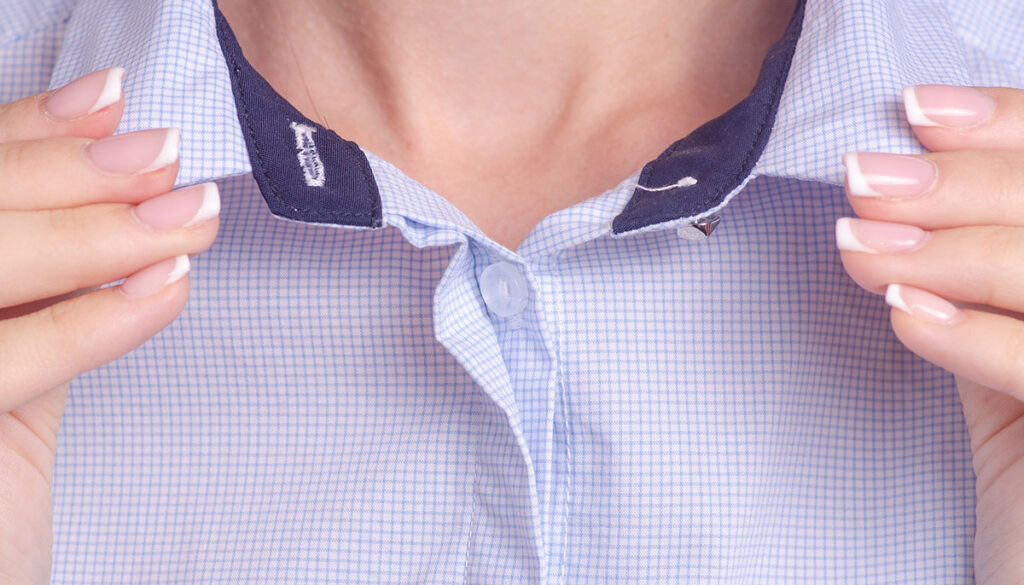
Every person with a larger bust knows that collared, button-down shirts are the enemy. (That goes for shirtdresses, too!) The classic Oxford is such a crisp, professional look… unless you’ve got button gap. How can you avoid this oh-so-common problem? There are a few approaches.
First, consider going up a size and then getting the shirt tailored in the waist and shoulders to perfectly fit your figure. Tailoring is not as expensive as you might think, and if you’re committed to buying quality over quantity, then it makes sense to spend a little extra money on making sure your clothes fit.
There’s a real possibility that the problem isn’t the shirt at all but your foundation garment. Many of us go through life with an ill-fitting bra, which can cause problems with more than just fashion. If you’ve never been fitted for one, then visiting a specialty shop to get a professional fitting is a must.
If you didn’t notice the gap until you already left home, then it’s time to bust out the emergency kit. Double-sided tape can hide a small gap, but a larger one will need a couple of safety pins on the inside of the button placket (yes, that’s what that flap of fabric is called) to secure it.
New Shoe Blisters
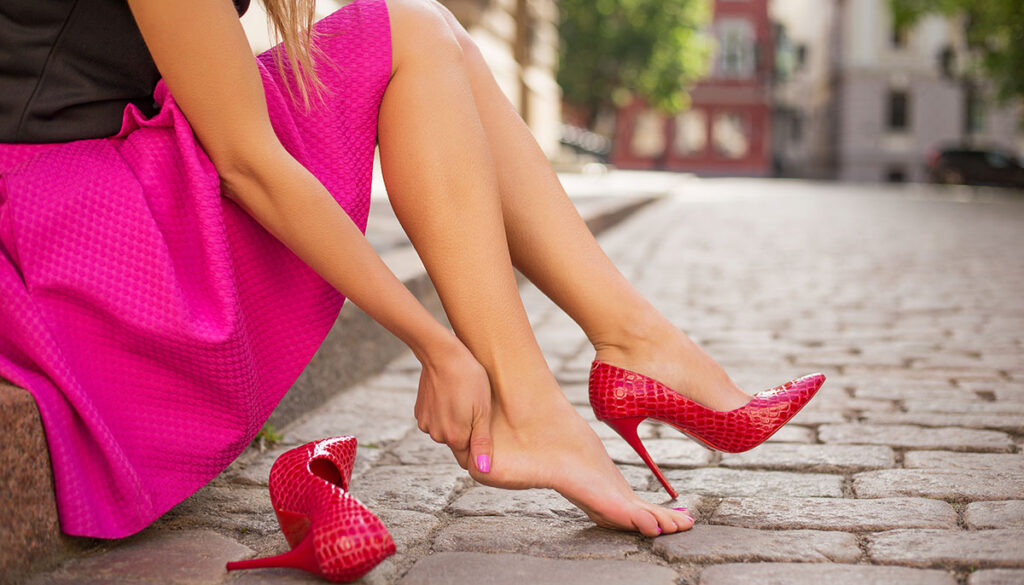
Sometimes you break in new shoes—but sometimes they break you first! It can be tough to gauge whether those adorable sandals or sexy heels will hurt your feet. When you try on a pair of shoes for the first time, walk around in them for a few minutes and note any areas that feel too tight or too loose. Both can cause blisters!
In spots where the shoe is rubbing against softer skin, such as the top of your foot, an anti-chafing balm might be enough to get you through the breaking-in process. You can find anti-blister balm, such as this product by Body Glide, at most drugstores or order it online. No-show socks are another good option, especially if you tend to have sweaty feet.
If your new shoes are hitting bonier areas of your feet, such as the back of your heel, then a cushioned bandage can help. We also love Foot Petals, which come in a wide variety of shapes, sizes, and colors. They attach to the shoe, not your skin, for long-term protection and comfort.
Skirts That Won’t Stay Down
Breezy summer dresses are great in theory, at least until an actual breeze comes along. Nobody wants an unplanned Marilyn moment, but what are you supposed to do about it? It might seem like the only options are a.) never wearing lightweight skirts and dresses again or b.) begging Mother Nature to leave you in peace. Thankfully, there’s a third option: dress weights.
Queen Elizabeth herself insists on having these small, flat weights sewn into the hems of her skirts and dresses. You can DIY dress weights by stitching metal buttons to the inside of the hem. However, it’s much easier to buy reusable stick-on weights. Check out these weights by Jillies! If you only discovered your skirt’s desire to fly like a kite after it’s too late to prevent it, then you can tape some pennies to the inside of the hem in a pinch.
If your skirt tends to bunch or ride up when you walk, dress weights alone might not cut it. Make sure that you are using a static-minimizing product with your laundry. Dryer sheets are helpful, but you can also try white vinegar in place of liquid fabric softener. Synthetic fabrics tend to have more of an issue with static, so you may find that natural fibers don’t cause as many issues.
Finally, consider investing in a good ol’ fashioned slip. There’s a reason slips were popular for so many decades. They cut down on static, protect dry-clean dresses and skirts from contact with your skin, and help clothes hang better. Obviously, a slip isn’t an option for a bodycon dress, but for other styles, it can help prevent a host of wardrobe disasters. Plus, they just feel glamorous when you’re getting ready to go out.
When the Strap Snaps

Everyone has felt it at least once—the pop of a strap breaking. Whether it’s a cotton camisole or a fancy ballgown, those thin straps are a weak point. First, prevention: Go get that bra fitting. Ideally, spaghetti straps shouldn’t be, you know, load-bearing. Next, always check the hardware on your adjustable straps to make sure that none of it is broken, and examine sewn-in straps for small rips or frayed fabric. It’s better to find out that your favorite cami is literally hanging on by a thread before you wear it out of the house.
If disaster hits, however, don’t panic. Thanks to your handy-dandy emergency kit, you can slip away to stitch that strap back in place. While turning your straps into a halter top might seem like a good idea in the movies, it’s probably not the most practical solution in real life. Instead, if you can’t sew a broken strap, use a safety pin to hold it together.
Dealing with Rips and Snags

The first rule of dealing with damaged clothing is don’t make it worse. No matter how tempting it is to yank on that loose thread or—gasp—cut a snagged loop of yarn, resist the urge. You’ll only create a bigger problem for yourself. Instead, stay calm and perform fashion triage.
If a rip or tear is in a critical or highly visible area, then you need to change if at all possible. Split pants happen to the best of us, and what has been wrought asunder is likely to keep asundering. Keeping an emergency skirt at your desk or in your car isn’t a bad idea. If you absolutely cannot change clothes, then your next best option is to hide in the bathroom while you quickly sew the rip using your emergency sewing kit.
Make sure to give yourself enough seam allowance so that you are stitching into whole, unfrayed cloth. Of course, if your pants split because they’re a teensy bit too snug, then you might not have enough fabric to work with. In that case, do what you can with a combination of tape, safety pins, and positive vibes.
Loose threads should always be trimmed, never pulled. You could end up ripping out an entire seam if you start pulling! Then you’re back to hiding in the bathroom with a needle and thread. If you don’t have scissors or nail clippers handy, just ignore the thread until you can safely trim it.
As for snags in knitwear, never pull or cut the yarn. You’ll end up with an even larger hole or a run as the stitches pull out in a vertical line. Gently pull the fabric on either side of the snag to help work it back in. Always air-dry sweaters or at least protect them from being tumble-dried with clothing that contains zippers or hooks.
Zippers That Won’t Zip

Why do zippers always fail at the worst possible time? There are several ways that zippers can ruin your day, from separating to just deciding not to stay up. The latter seems to happen most often on jeans, and usually when you’re around people you want to impress. (Or is that just me?)
A mini hair elastic or knotted rubber band will serve as an emergency fix. Fold it in half and thread one side through the hole in the zipper pull. Then pull the other side through the loop you created. Hook the elastic onto the button at your waistband and you’re good to go. If you already know that you’ve got a slippy zip, you can help it hang on by spraying the teeth with hairspray. This isn’t a permanent fix, however, and it might be worthwhile to get a seamstress or tailor to replace the zipper.
A stuck zipper, on the other hand, needs a little help to loosen up. If you’re trapped in your clothes thanks to a zipper that won’t unzip, dab a tiny amount of liquid soap on it. You can also use a very small dollop of Vaseline. If you’re still stuck after that, it’s probably because there’s a loose thread trapped in the teeth. If you can reach the zipper yourself, examine it for rogue threads and use tweezers to pull them free. Don’t yank on the zipper as you’re likely to break it by applying too much force.