We live in an age of fast fashion, when clothing is cheap and easy to get–and just as easy to throw away again. Of course, there are plenty of hidden costs behind that cheap t-shirt. There are a few ways to reduce your wardrobe’s impact on the world–and your wallet. Buying fewer new clothes and shopping at thrift stores whenever possible will both cut down on your fashion footprint.

A minimalist mindset toward your wardrobe can also make a big difference. Limit your wardrobe to fewer pieces overall and invest in versatile, high-quality staples instead of fast fashion. But what happens if your favorite dress or comfiest jeans start to collect minor rips and holes?
That’s where sashiko, a traditional style of mending that originated in Japan, can give your wardrobe new life.
What Is Sashiko?
Sashiko literally means “little stabs” in Japanese. It was developed back when cloth was scarce, expensive, and handwoven. Sure, wealthy folks could afford new garments. But if you were a servant or laborer, good luck saving up for a new kimono. Hand-me-down clothing needed to last as long as possible. Patching and reinforcing cloth with simple running stitches that anyone–seriously, anyone–could do was a way to extend the life of these precious precious textiles.
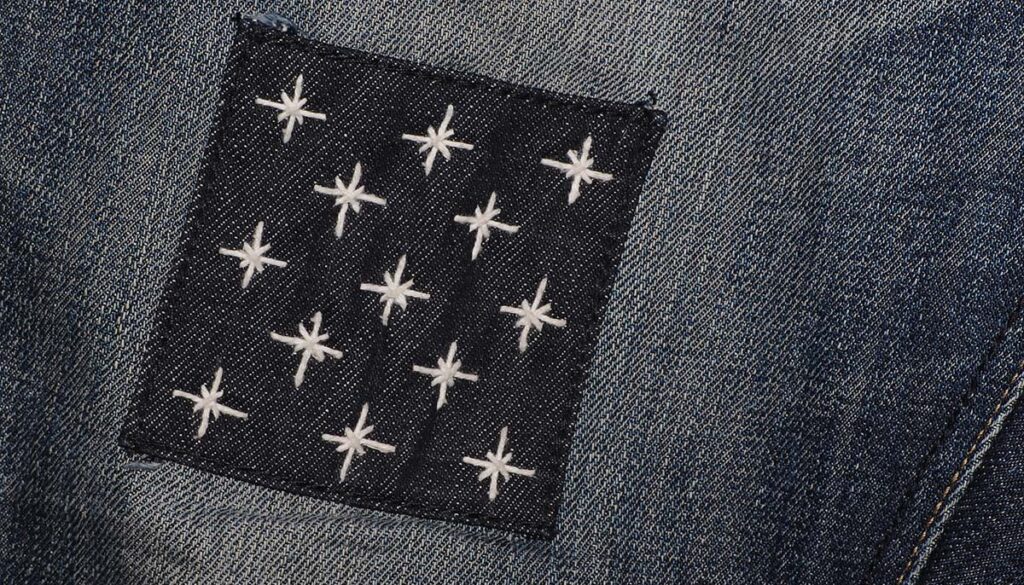
Ripped or worn garments could be patched with salvaged squares or rectangles. Initially, sashiko involved parallel lines of running stitches across the length of the patch, which could be placed behind the tear or over it depending on what looked nicer. That’s the kind of basic technique that I’ll show you how to do below, but this humble style of mending developed into an art form over the centuries.
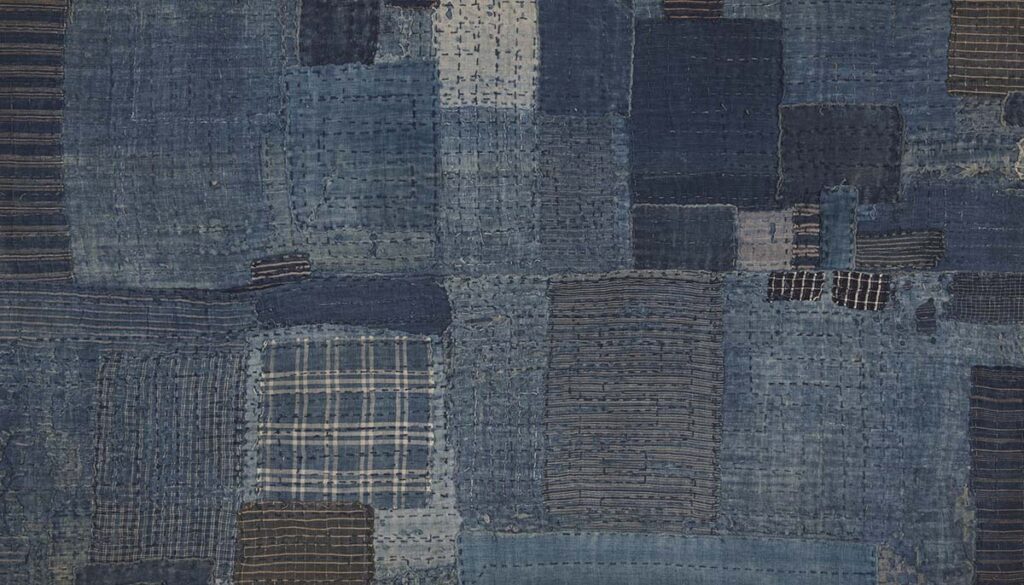
You might see this basic sashiko technique called boro as well, but boro is actually the word for garments or other textiles that have been stitched together using scraps and rags with sashiko stitches. The image below is an example of boro.

Modern-Day Visible Mending
Visible mending honors your clothing’s journey. You shouldn’t be ashamed of patching a rip or reinforcing a worn-out spot. It shows that you care about your impact on the world and respect all the effort it took to create your garments.
Too woo-woo for ya? How about the fact that visible mending also looks really cool? You’ll create totally unique, artsy pieces for yourself with minimal effort and expense. Why would you throw away your old denim jacket when you can give it a new lease on life? Sashiko also works wonders on thrift store finds that need a little TLC.
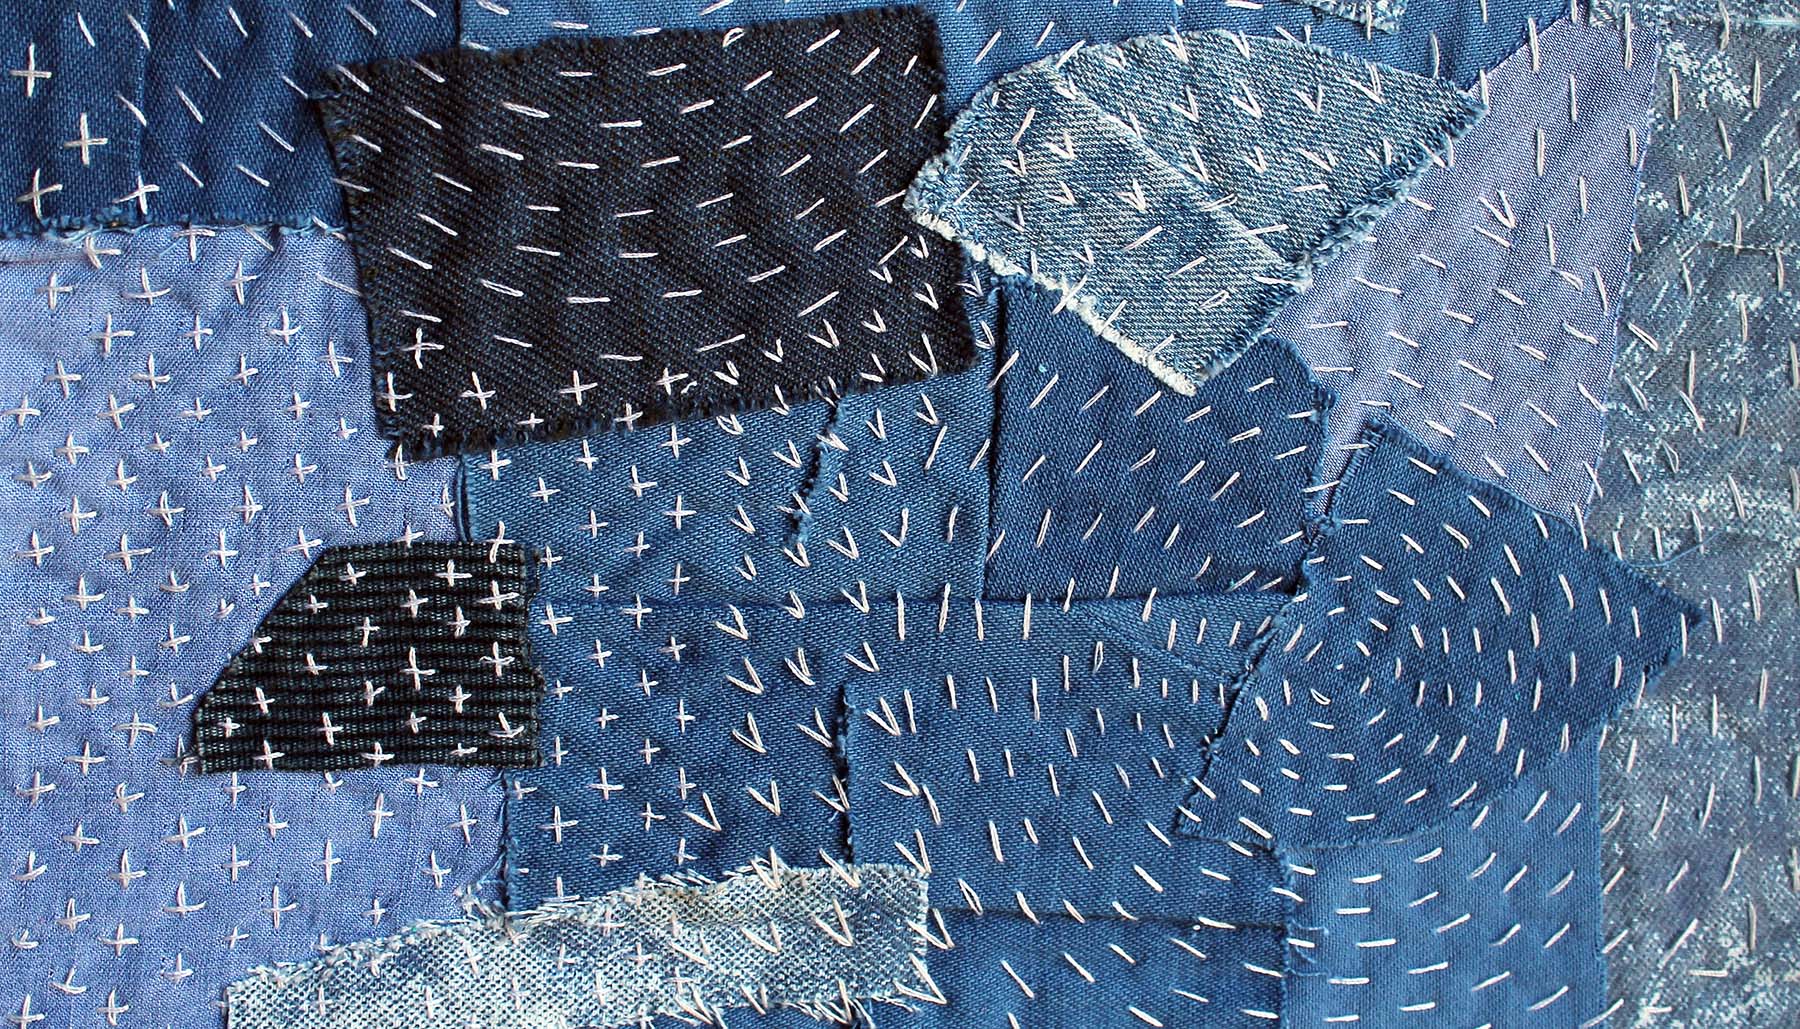
In feudal Japan, most cloth was handwoven and dyed with indigo. Sashiko used white thread to contrast with the blue of the fabric. That still looks great today–especially if you’re mending denim. However, you aren’t limited to just one color of the thread, style of stitch, or color of patch. The only real limit is your imagination!
@heypumpkindaily Patching a hole using the Sashiko method ##japaneseembroidery ##sashikostitching ##stiching ##sashiko ##foryoupage
♬ Italian Love Story – ILYA TRUHANOV
How to Sashiko
To try out this traditional Japanese craft at home, you’ll need a few basic supplies:
- Garment with a small rip or tear that needs to be mended
- Patch that’s big enough to cover the hole and at least another 1/4 of an inch
- Cotton embroidery floss or pearl cotton in the color(s) of your choice
- Sharp tapestry needle with an eye that’s big enough for your thread
- Small, sharp scissors
- Optional: 4 sewing pins to hold your patch in place, fabric marker or pencil to draw your design
If you’re mending a burn or stain, go ahead and carefully cut around it. If you’re mending a rip, cut away any loose threads or ragged edges. Now you’ll need to choose a patch. Try to use the same type and weight of fabric, if possible. If you’re mending a t-shirt, choose another knit fabric. If you’re mending a pair of jeans, denim is a great choice.

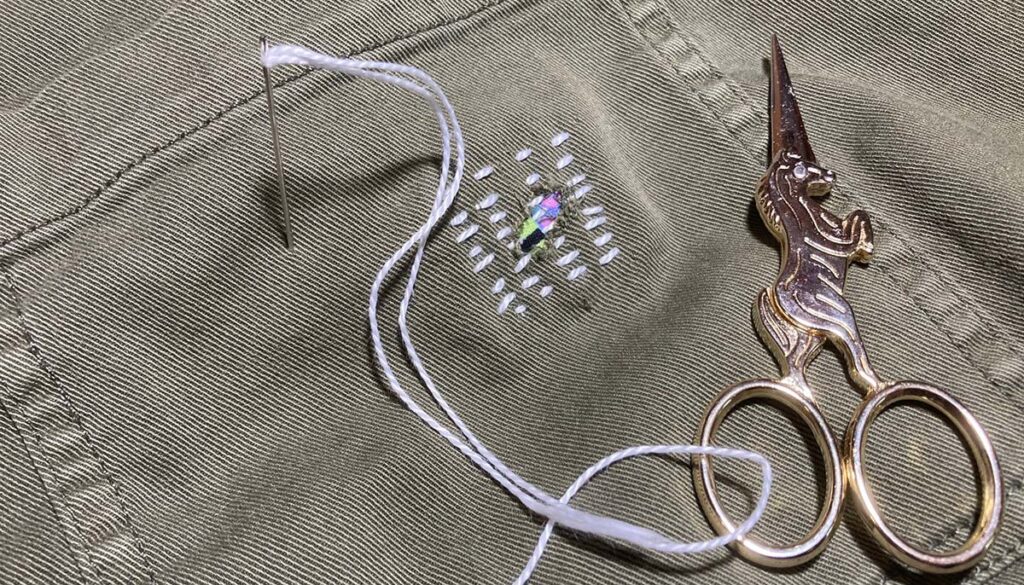
The garment I chose to mend is a lightweight cotton twill, and since I didn’t have anything that quite matched it, I cut a piece of cotton quilting fabric twice as big as I needed and then folded it in half.
Place your patch where you want it. I chose to put mine behind the rip. After securing my fabric in place with some sewing pins, I tied a knot in my white pearl cotton and got to work! Starting in one corner, I began making rows of simple running stitches across the fabric. When I got to the end of the row, I simply turned around, moved down about an eighth of an inch, and went back in the other direction.
When I finished stitching my lines of simple running stitches across the entire patch, I secured the thread with another knot. That’s seriously it! If you’ve got a treasured piece of clothing that needs some love, try this simple–yet surprisingly durable–technique.


