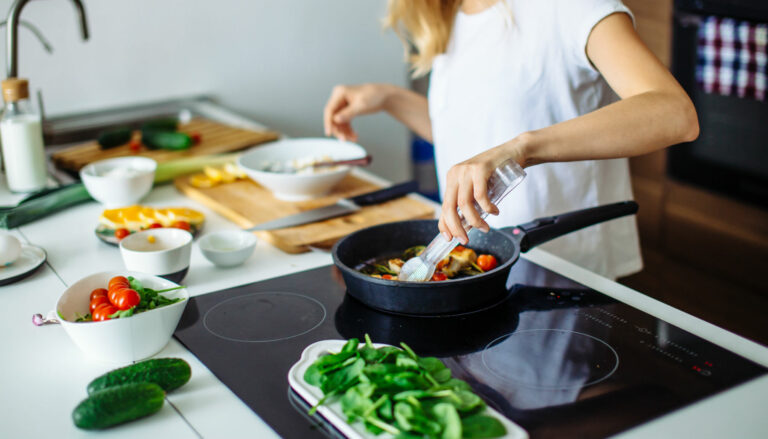
How did you learn how to cook? Many of us are taught at home by watching our parents, guardians, or older siblings. But… where did they learn to cook? If someone along the line picked up a bad kitchen habit based on a myth, it’ll keep getting passed down. These are some of the most common kitchen myths that are ruining your food and making your kitchen less safe.
Washing Raw Chicken in the Sink
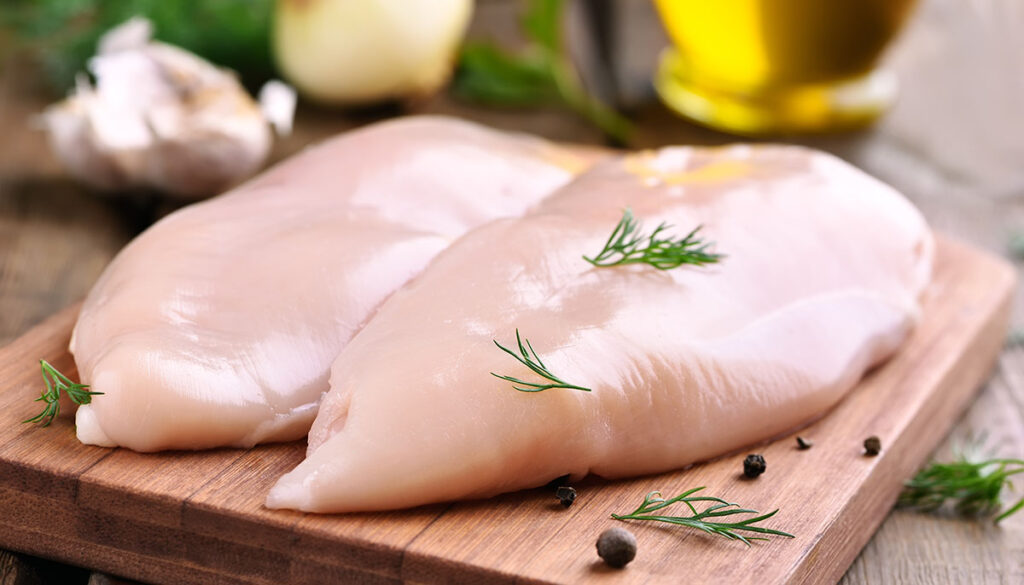
When I was growing up, my mom was a chicken washer. She’d learned this food safety myth from her own mother. It wasn’t until much later, when I had moved out on my own, that I understood what a bad idea it is to wash raw chicken in your sink. Not only does it not prevent any kind of foodborne illness, but it can splash any bacteria that’s on the chicken all over your sink and counters.
Cooking chicken to the right temperature (165 degrees Fahrenheit) and washing the tools you used with hot, soapy water are the only steps you need to take for food safety. Paula Patton recently made headlines when she shared her family recipe for fried chicken, which started with washing the raw meat in the sink. There were so many problems with her so-called recipe, but she was roasted for her food safety awareness (and lack of seasoning) online.
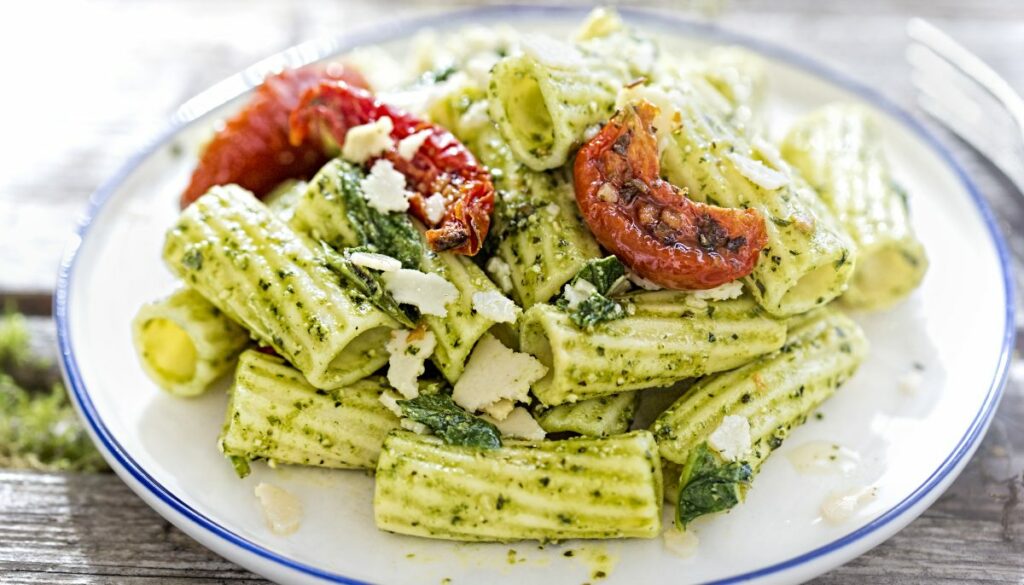
Cooking Your Pasta All Wrong
There are so many pasta myths that I couldn’t pick just one. First, there’s the amount of water you should use. Most people fill their pasta pots with way too much water. You only need to cover the dried pasta with about an inch or two of water. Anything more than that will just increase the time it takes to bring to a boil—plus, it’ll water down the delicious, starchy “liquid gold” that’s left behind after cooking.
Another myth is that salting your water will make it boil faster. The reason you should salt pasta water is to impart flavor. This is essentially your only chance to add flavor to the pasta itself, and you’d be surprised what a difference a little salt in the water makes. It’ll also season the starchy cooking water, which you can then use to emulsify sauces, such as for cacio e pepe, as well as plenty of other uses in the kitchen. Don’t drain that good stuff into the sink! Remove your pasta with tongs, if possible, or else drain the water into a clean mixing bowl.
There’s one thing you shouldn’t add to pasta water: olive oil. Although many home cooks insist that a little oil in the water prevents the pasta from sticking to itself, what it really does is prevent the sauce from sticking to your cooked pasta. That’s no good! Don’t lubricate your noodles, folks. On a similar note, you shouldn’t rinse your cooked pasta in cold water. Once again, you’re washing that precious, sticky starch right down the drain. That means less sauce will adhere to your pasta, and ultimately, less flavor in every bite.
Read More: Soup’s Up! Five Healthy and Hearty Recipes
Not Washing Mushrooms Before You Cook Them
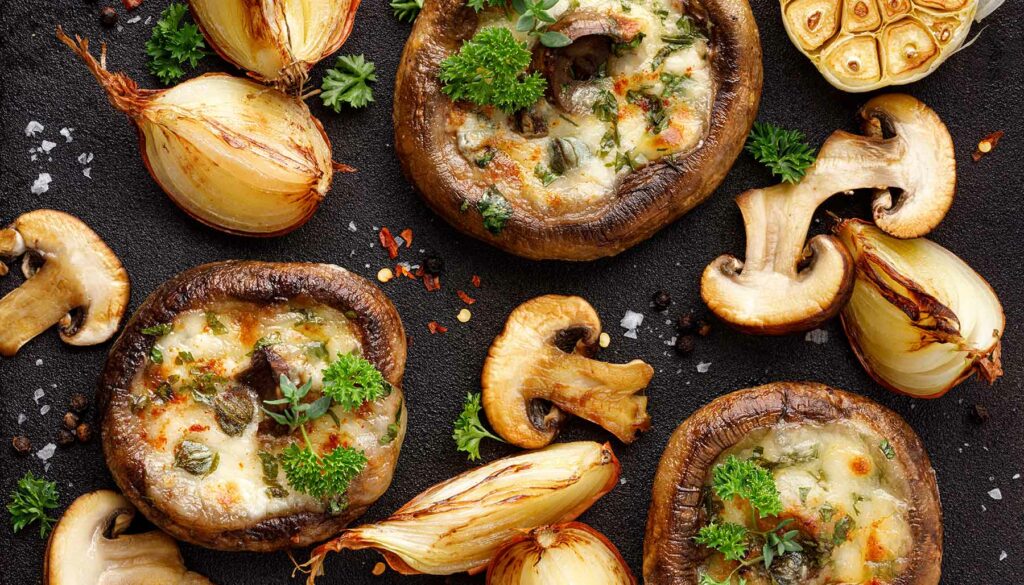
Have you heard that it’s a bad idea to wash mushrooms? The idea is that these tasty fungi are basically little sponges and washing them will put the “mush” in mushrooms. But that’s not true! Mushrooms are grown in dirt—and they arrive at the store with dirt still clinging to them.
You should 100% wash mushrooms. Just do it right before you cook. Washing mushrooms in advance is a good way to get moldy, slimy ‘shrooms. The same is true of strawberries and any other delicate produce. This myth likely stems from commercial kitchens, where the mushrooms might be washed in bulk for hours or even days before finally being used.
Searing Meat to Lock in Juices
I’ll admit that I believed this myth for a long time. However, actual science has proven that when you sear a piece of meat before cooking, the result is slightly drier. In addition, dropping meat onto a very hot surface, such as a preheated cast iron skillet, will cause the outside to cook faster than the inside. You could end up with a burned exterior and an interior that’s closer to raw than you like.
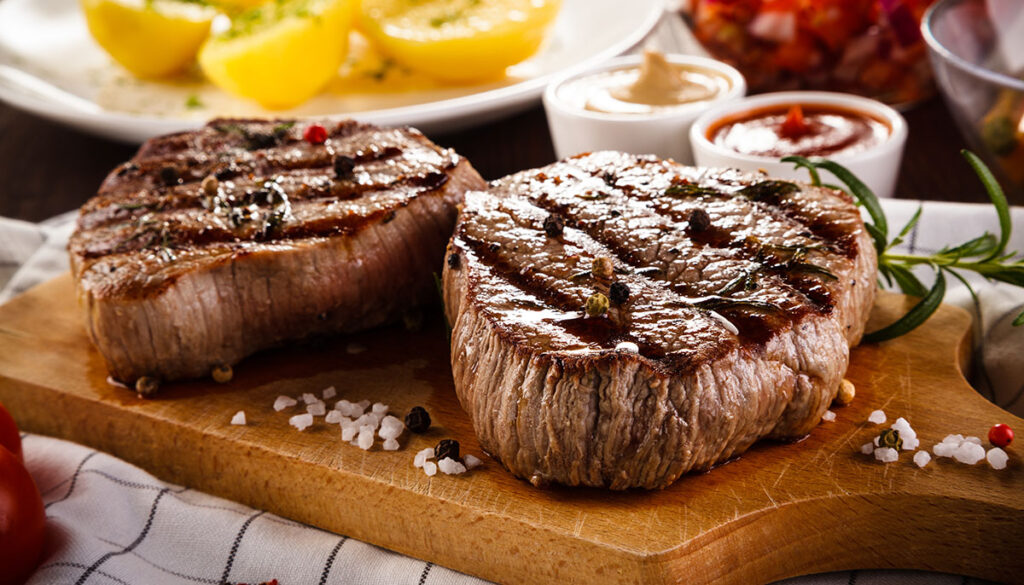
What’s wild is that this myth is perpetuated even by chefs who should know better. You’ll find plenty of experts telling you to sear in a hot skillet first, then finish in the oven. What you actually need to do is cook your meat to the recommended food-safe temperature. For a steak, a meat thermometer should read 145 degrees Fahrenheit. Once you hit that magic number, then drop it in a hot skillet to add a sear. You still want that delicious browning—called the Maillard reaction, if you want to impress your friends—but it should come at the end of the cooking, not the beginning.
This is how sous-vide meats are prepared, but you can get the same effect by roasting meat in an oven to bring it up to a safe temperature. Then get your cast iron skillet sizzling hot and get a nice, golden crust on the outside of the meat right before serving.
Read More: 4 Surprising Foods to Throw on the Grill
Messing Up Your Meat in More Ways Than One
While we’re talking about meat, let’s bust a few more myths. A lot of amateur grill masters will tell you that the key to a great burger is to flip just once halfway during cooking. Unfortunately, that’s just not true. While it is true that you shouldn’t squash your burgers flat with a spatula—that forces the melted fat out of the burger and dries it out—the “one flip to rule them all” thing is patently false. Flip meat every 30-60 seconds during cooking. This will ensure that it cooks evenly—and faster, too. If you don’t believe me, J. Kenji López-Alt over at Serious Eats has the receipts to prove it.
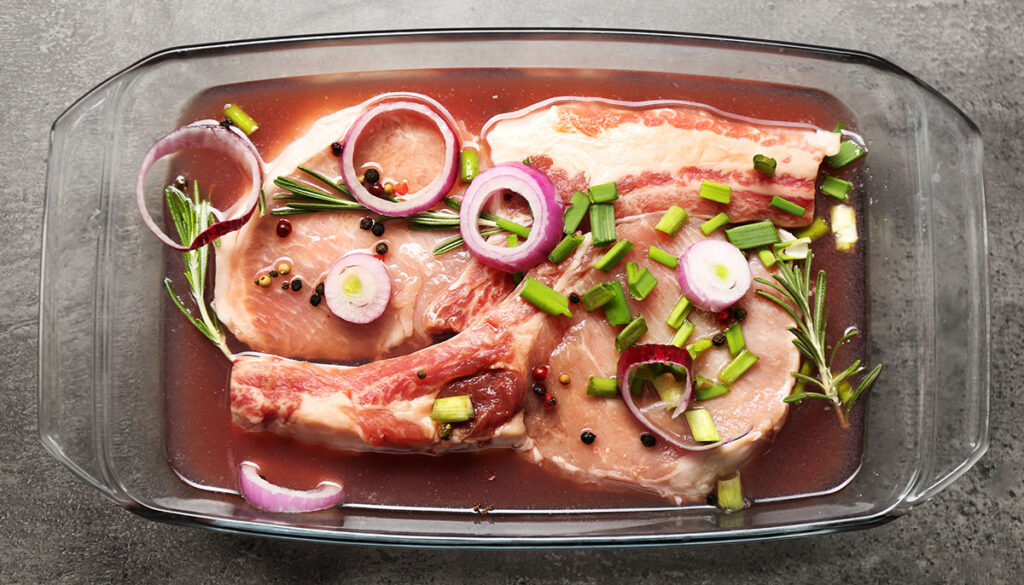
Finally, let’s dish about marinade. Most of the time, they don’t actually do anything. The marinade will only penetrate a little way into the meat, so most of the flavor is going to be on the outside. If you’re grilling, the very high heat will burn off a lot of those delicate herbs and spices. Marinades don’t actually tenderize meat, and if there’s too much acid in the marinade, it can damage the proteins strings in the meat, making for an unpleasant texture.
The only time you should marinate is when you’re working with very thin cuts of meat. Flank steaks, chicken wings, thinly sliced pork—it’ll all benefit from a dip in a little marinade because there’s so much more surface area compared to a chicken breast or a steak. You can read more about the science of marinades and brines in the Los Angeles Times.
Removing Seeds from Peppers to Reduce Their Heat
I absolutely believed that the heat comes from pepper seeds until I started researching for this post. This is less a myth and more a problem with the wording. Most recipes tell you to “deseed” peppers, so it’s natural that you’d assume the seeds are the main source of capsaicin. Remove them, and the peppers aren’t so spicy, right?
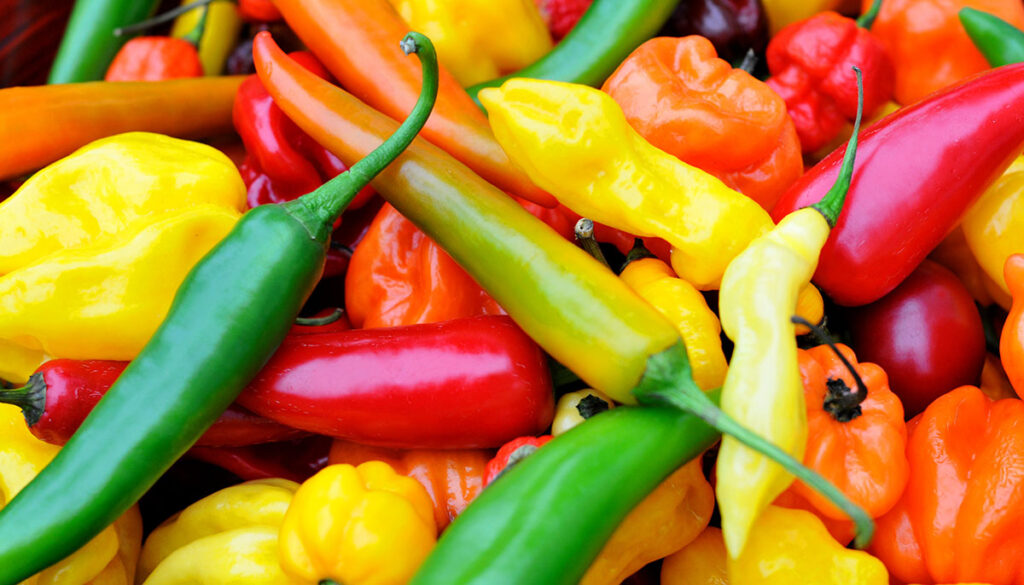
I hate to “well, actually” you, but that’s not what is happening when you deseed a chili. The ribs and pith of a pepper are where you’ll actually find the capsaicin. When you are told to deseed a pepper, you’re supposed to remove everything inside, leaving only the flesh. The easiest way to deseed a hot pepper is to cut it in half and then use a spoon to scrape out the innards. You can also run a sharp knife along the length of the pepper, but a spoon works better.
Also, consider wearing rubber gloves when you handle very hot peppers. Your hands can get covered in pepper juice while you work, and if you’re not careful, you might absentmindedly rub your eyes.
Cooling Leftovers Before You Put Them Away
Here’s a major food safety foul. While you shouldn’t transfer food directly from the stove to the fridge, letting it come up to room temperature is a terrible idea. Bacteria will flourish as the food cools, and you might not reheat your leftovers to a sufficient temperature to kill them off again.
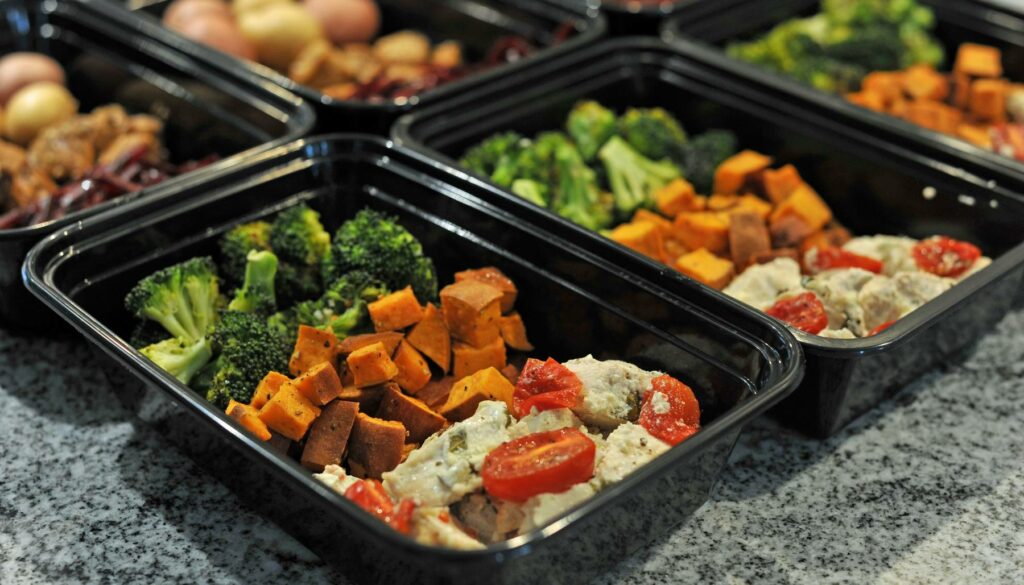
The Washington State Department of Health advises that you should let your food sit on the counter for no more than two hours. After that, it needs to go in the trash. Furthermore, they recommend dividing large amounts of leftovers into small, shallow containers so that they can cool more quickly in the fridge. Oh, and if the temperature is above 90 degrees—such as at a summer barbecue—food has a maximum of just one hour before it goes bad. So no, Aunt Susan’s potato salad isn’t “perfectly fine” after sitting in the sun all afternoon.
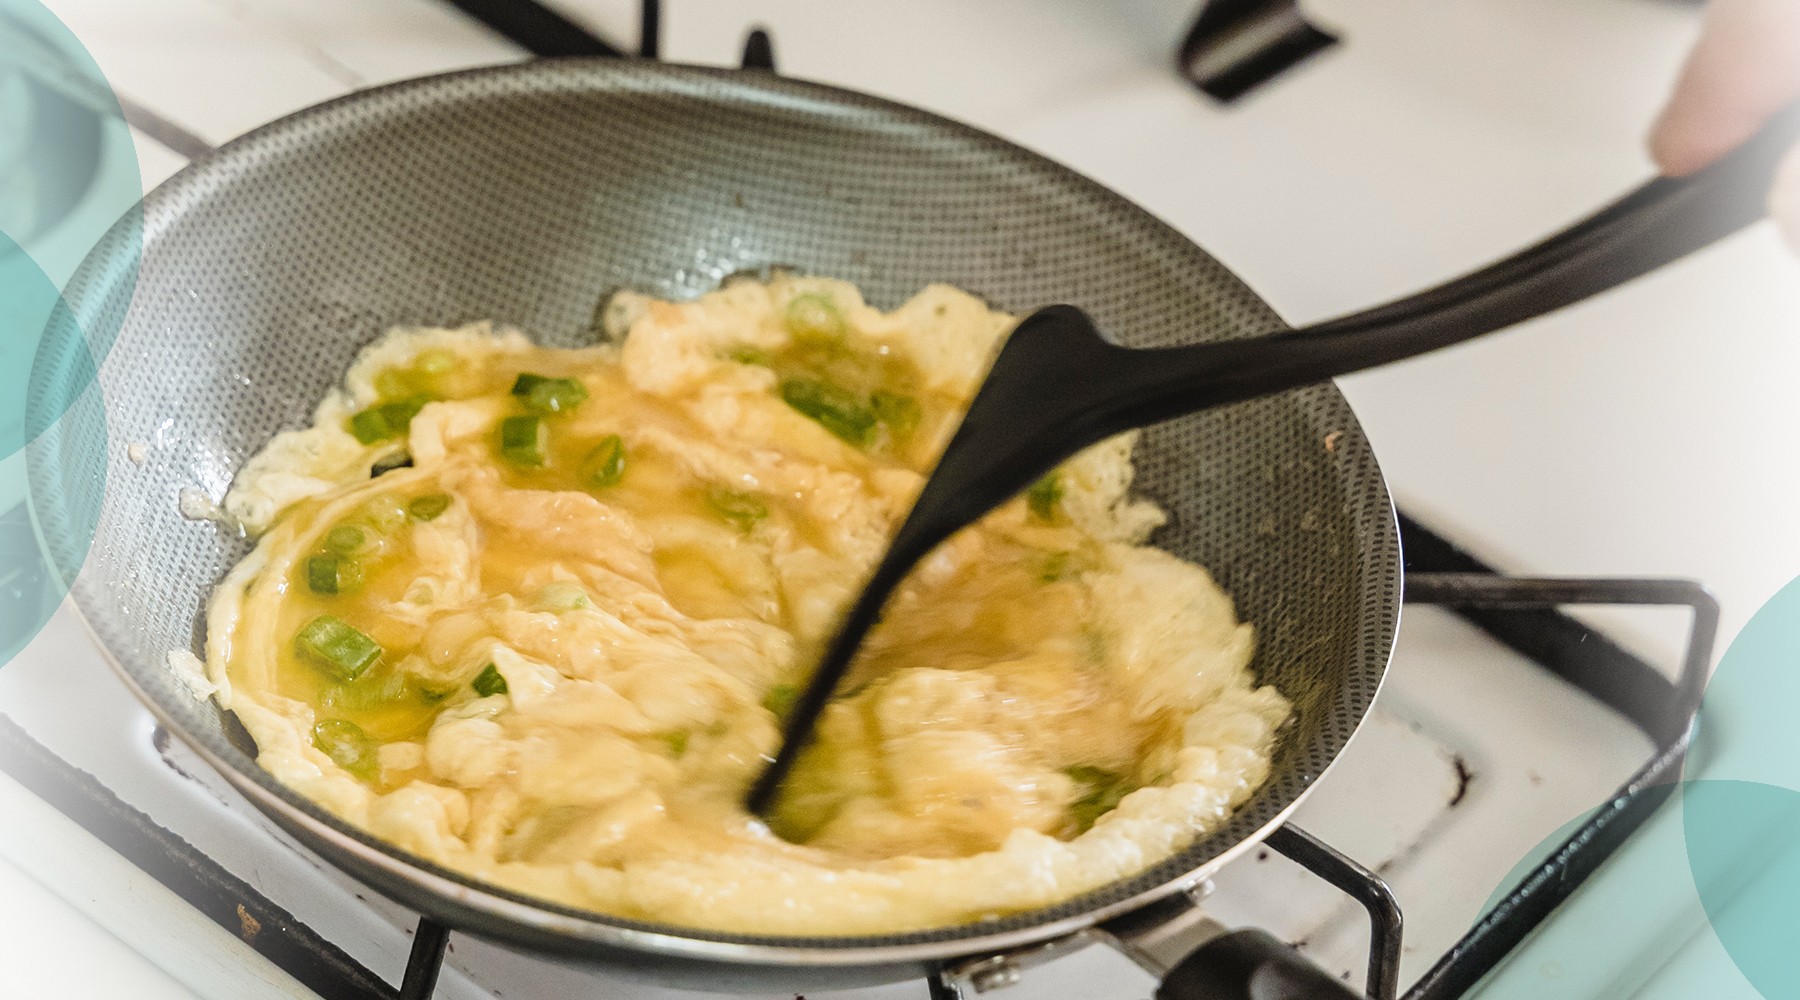
Scrambling Your Eggs Based on Bad Advice
If you ask ten different cooks how to make scrambled eggs, you’ll get ten different answers. It doesn’t seem like there should be so many variables involved, and yet the preparation of this simple dish can lead to heated debates.
Myth number one: don’t salt until after you finish cooking the eggs. The idea here is that salting before or during cooking will cause your eggs to become tough and rubbery. Our friend J. Kenji López-Alt from Serious Eats says that the opposite is true. “After a lot of testing, that’s not the case. If you let your eggs rest with some salt for 15 minutes, they’ll actually retain more moisture. That’s because the salt breaks down some of the proteins and that forms a net that holds in more moisture as the eggs cook,” he told Bon Appétit.
Myth number two: whisking milk or cream into your eggs before cooking will make them more tender and delicious. You’d think that adding cream to eggs would make them, you know, creamier. This one is hotly debated, but let’s look at the science. Dairy could mess up the texture of your eggs because it has a different ratio of water, protein, and fat. It’s the fat that makes scrambled eggs taste so luscious. There’s already a ton of fat in egg yolks, and there’s a lot more water than fat in even full-fat dairy. You’ll have to cook the eggs longer to get rid of that extra water, and that, in turn, may cause them to go rubbery.
Here’s a little-known pro tip. When you are prepping your eggs, grate about half a tablespoon of frozen butter into the mix. Whisk everything up and cook as normal. The extra fat from the butter will give you that creamy texture you’ve been looking for. Grating the butter results in little flecks of very cold fat that won’t melt too quickly. Instead, they’ll help coat the proteins in the egg and make it even more creamy.
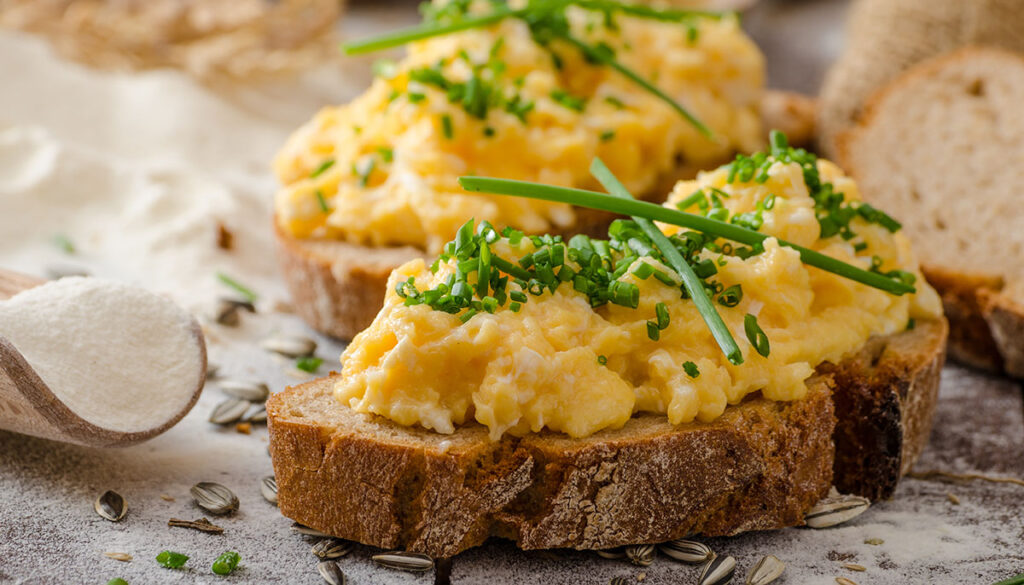
Use medium-low to medium heat and a nonstick skillet for trendy soft-scrambled eggs. I like to whisk the eggs in a bowl and then use a silicone spatula to move them around the pan along with a pat of butter, but if you want really tiny curds, you can use a silicone (not bare metal) whisk. Remove the pan from the heat before the eggs are quite done and continue moving them around for a few more seconds. The residual heat will finish cooking them. For diner-style eggs, melt butter in a hotter pan first, and don’t agitate the eggs quite as much as the soft-scrambled method.