
Decorating your home for the holidays is a heartwarming and fun activity to do by yourself, with your friends, or with your family. However, buying all those decorations can get expensive – but it doesn’t have to be!
You don’t need to spend big on store-bought Christmas decorations to make your home feel cozy and festive for the holidays. Bring some of your own personality and flair to your Christmas decorations with these six DIY holiday décor craft ideas.
Tree Branches and Twinkle Lights

Here’s a simple décor idea that immediately adds class, light, and warmth to your home. Remember all those sticks you picked up when you were raking leaves? Either pick the biggest sticks in the bunch or look for fallen tree branches for this craft.
Once you have your sticks or branches, take a string of Christmas lights and wrap it around the branch. Repeat with as many branches as you want, and then lean the branches up against the wall. Voila! With almost no effort at all, you have a beautiful new holiday decoration that adds warmth to your home. Pro tip: This craft works best in an uncluttered and neutral-colored space.
Christmas Ornament Advent Calendar
Before you decide to try out this craft, it’s good to know its history! Advent calendars originated in the 19thcentury when families would mark every day in December until Christmas Eve with a chalk line. Modern Advent calendars became affordable and widely available in the 1950s, and chocolate Advent calendars became popular in the 1990s.
You can incorporate an Advent calendar into your décor by making your own with a large piece of cardboard or poster board, whichever you prefer. Wrap it with your favorite festive wrapping paper, and then, either by writing directly on the wrapping paper or by attaching construction paper or a blank gift tag, number from 1-25.
Use a thumbtack to poke a hole for each day, and on each thumbtack hang a different (small!) Christmas ornament. Each day add one ornament to the tree. It’s a fun family tradition that you can reuse every year!
DIY Paper and Yarn Christmas Tree
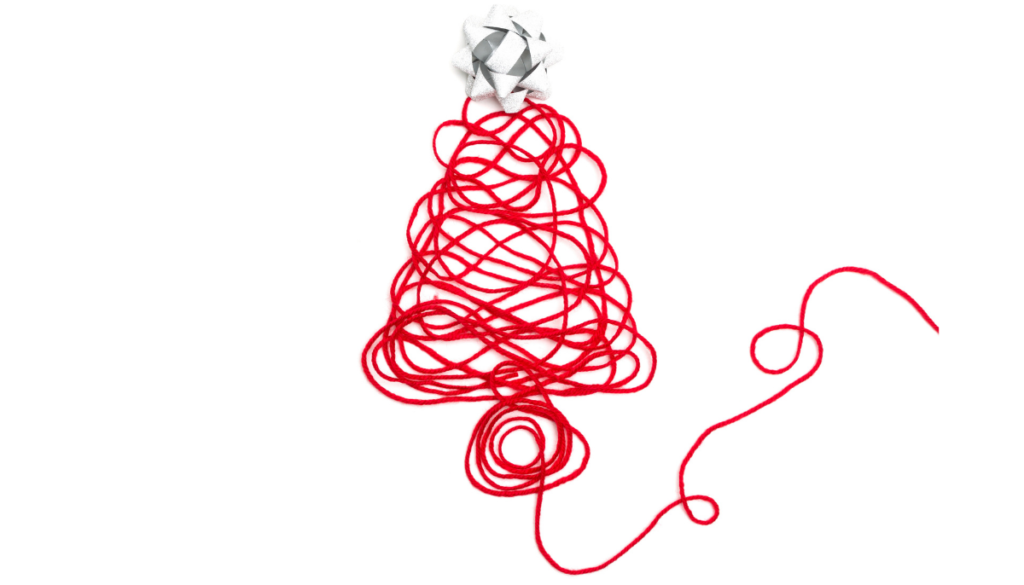
For this craft, you’ll need blank wall space and plenty of yarn. You’ll be attaching your tree directly to your wall, so measure first!
One option is to use one long piece of yarn as shown in the photo and drape it back and forth along your wall. Another option is to write down how tall you would like your tree to be in inches, then cut a piece of yarn to that length. Tape it to the wall and see if you like it that length or if you need to adjust the length. Cut out the number of strings that you want (15 strings is recommended) for your tree, and secure them all to the same spot with glue dots. Fan your strings out in a tree shape and then add any decorations you like as “ornaments.”
For instance, you can make pom poms and secure them to the yarn by tying them or gluing them to the strings. Or, you can cut out circular ornament shapes from paper that you like and tape them directly to your wall behind the yarn. Add a paper star to the top to complete your yarn Christmas tree craft!
Snow Globe Mason Jar

Make your own snow globe instead of buying one! All you need is a mason jar, cotton balls, and Christmas-themed figurines (small toys work perfectly!). If you want to add some sparkle, make your own glitter confetti from metallic wrapping paper.
Alternatively, you can turn this craft into an edible décor display by using snowball cookies and tiny decorated sugar cookies!
Holiday Card Display

All you need for this simple and meaningful holiday décor is twine, nails or thumbtacks, and clothespins. Measure how long you would like your display to be. Then, place nails (or thumbtacks) at each end, and then cut your twine the length it needs to be to stretch from one end to the other.
As you receive your Christmas cards, attach them to the twine with your clothespins. Alternate portrait/vertical cards with landscape/horizontal cards for a fun zig-zag effect. Every time you walk by your display, you’ll be reminded of the people in your life who love you!
Mitten Garland
Just like the holiday card display, all you’ll really need for this craft is twine and clothespins. Find a good spot for your garland (like across bunk beds or a bookshelf) and then measure and cut your twine to stretch across the space. Or put small nails, tacks, or hooks on your wall and tie the twine from one end to the other.
Collect all the mismatched mittens in your house, or even use your matching mittens if you like, and hang them from the twine with clothespins. Now you have a soft, cozy display for your cute mittens! There’s no need to spend a significant amount of money on Christmas decorations. Let your personality shine through your Christmas décor by trying a new craft. Once you’re finished, sit back with a mug of hot chocolate and enjoy the ambiance you created!